Whether high gloss or lacquer, rooms with reflective walls and softer furnishings attract the eye in much the same way as a wool skirt worn with patent leather boots. It’s why so many top designers opt for glossy walls in their own homes. See below for a few of our favorite Pinterest-worthy examples along with some insight on where to draw the line between a weekend DIY and calling in a paint pro.
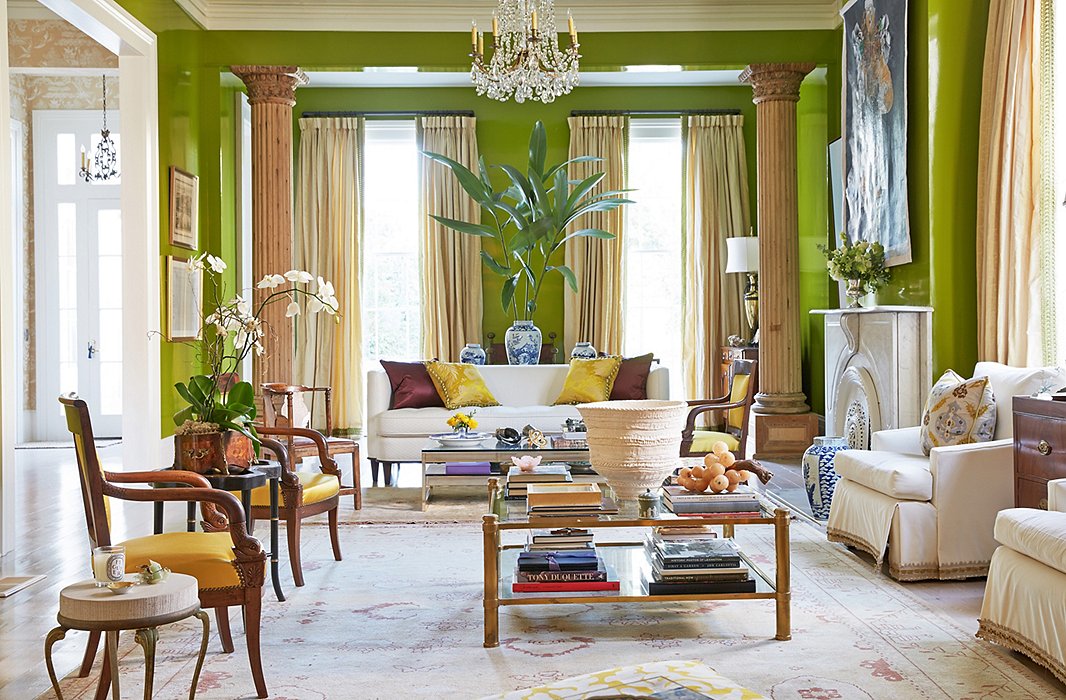
The New Orleans living room of designer Jane Scott Hodges is lacquered to perfection. Photo by Tony Vu.
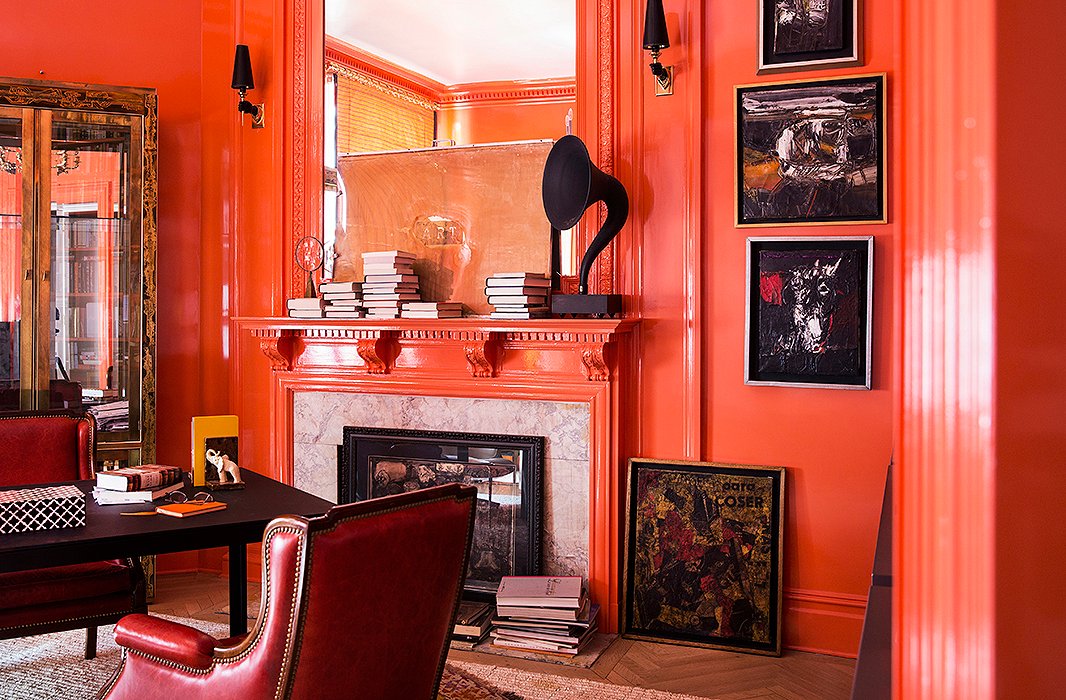
Roller Rabbit founder Roberta Freymann’s bold and beautiful home office features glossy millwork and contrasting art. Photo by Lesley Unruh.
The Power of Gloss
The evolution of high-gloss and lacquer paint can be traced back to the decorative screens used first in China and Japan and then, as trade routes opened up, in grand homes throughout Europe and the United States. At a time when rooms were lit by candlelight, the reflective quality proved both practical and beautiful. (In 1785, George Washington had the dining room at Mount Vernon painted verdigris green, then glazed to intensify the color and better reflect the mantel’s tapered candles.)
Even now, after Edison, dimmers, flush mounts, pendants, halogen, and LED, glossy paint has maintained its luster. It amplifies the effect of natural light, making it a strong choice for darker rooms—but after hours, it has the ability to transform any artificial lighting scheme into something unquestionably romantic. And no matter what time of day or how many windows are involved, it’s a foolproof way to create a space that feels more like a jewelry box than a room.
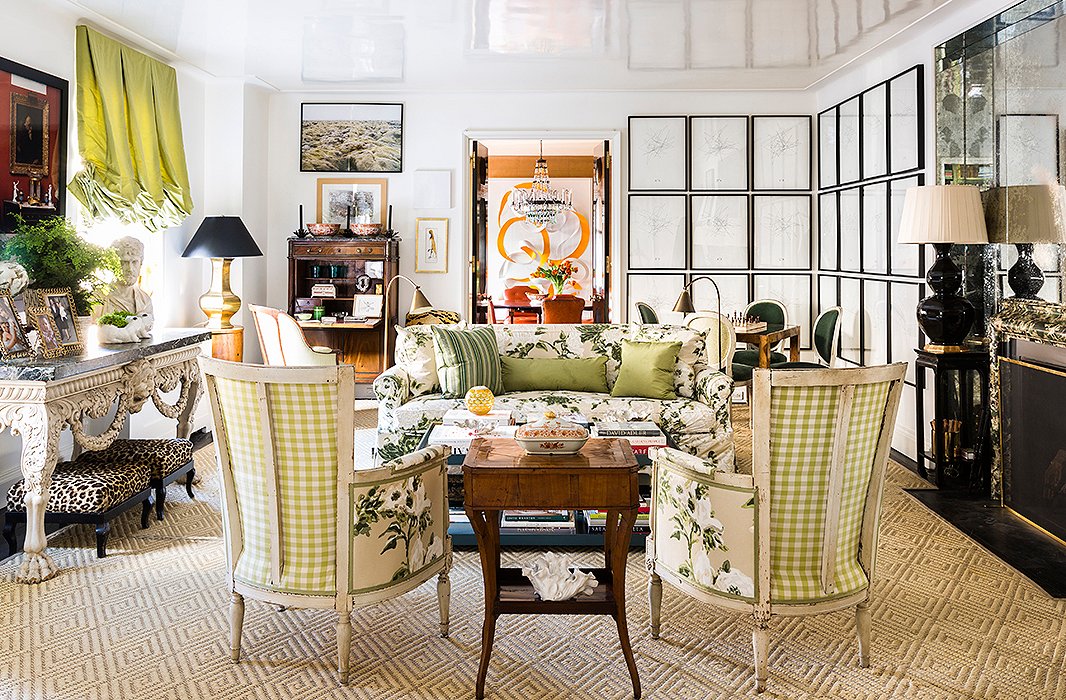
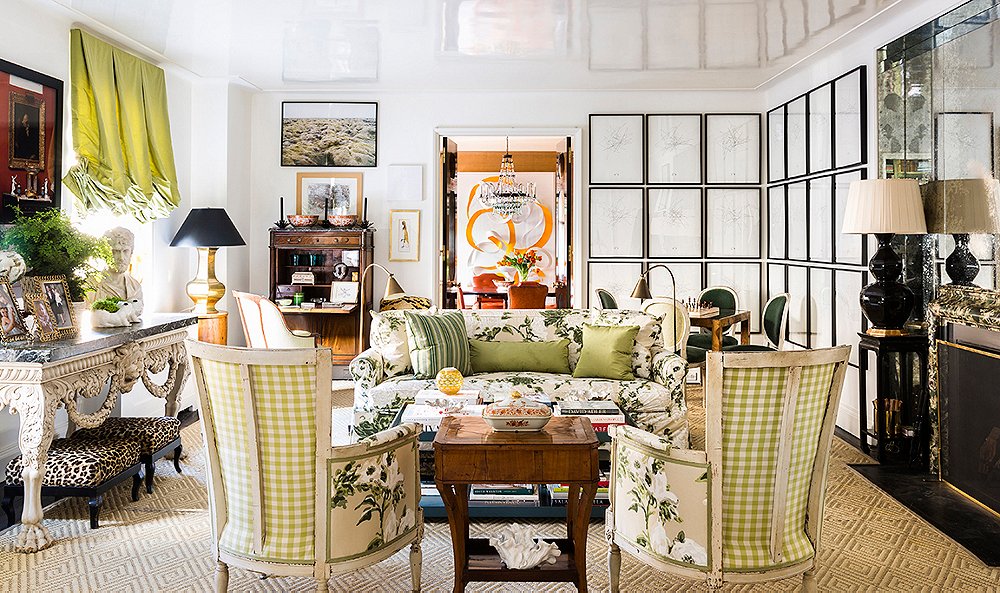
Kate Rheinstein Brodsky, owner of design shop KRB, had the living room ceiling of her Manhattan apartment lacquered to better reflect incoming light from a pair of windows. Photo by Lesley Unruh.
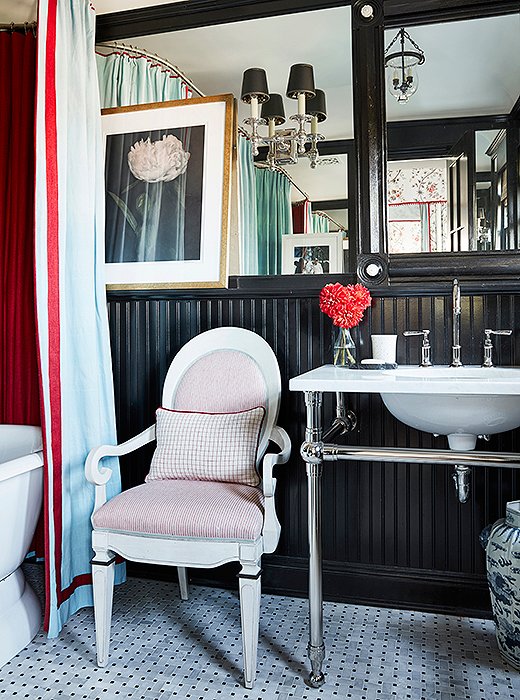
Glossy black beadboard lends Mark D. Sikes‘s Los Angeles bathroom a dose of Hollywood glam. Photo by Joe Schmelzer.
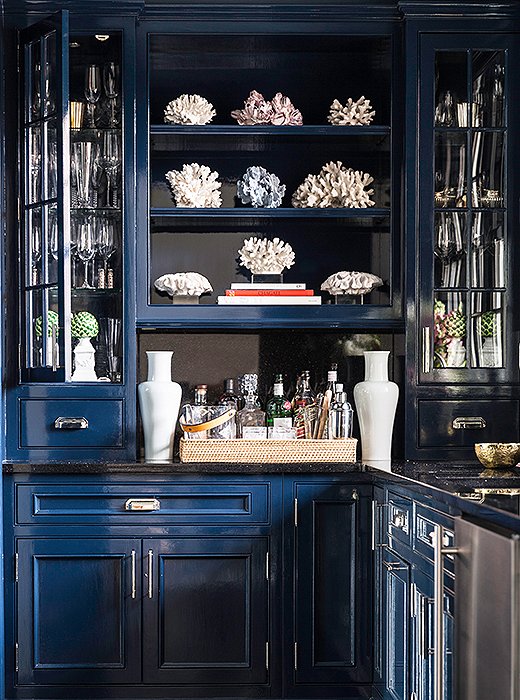
A shade of deep blue on the cabinets of The Zhush founder Sue De Chiara’s butler’s pantry transforms a pass-through space into a real showstopper. Photo by Lesley Unruh.
To DIY or Leave It to the Pros?
Lacquered walls get their smooth, reflective finish from a blend of resins and solvents that is sprayed on and dries quickly, creating a hard surface similar to that of a baby grand piano. Because of this, the area where it’s applied must be flawless. Bumps, nicks, watermarks, and even dust will show through, meaning existing walls must be sanded, primed, and sealed (and perhaps plastered) to porcelain-like perfection. Air quality during application also needs to be perfect, as any floating particles will adhere to the wet surface. Our best advice? Outsource. Having a professional lacquer a room will cost about the same as a gently used Birkin, but the final result will be beyond beautiful and last a lifetime.
High-gloss paint, on the other hand, is slower to dry, can be applied by brush or roller, and does not harden as lacquer does. Buying a gallon to use on molding, beadboard, or cabinetry is a worthwhile weekend DIY and will make the architectural features of your home all the more impactful. You could paint the walls, but the appeal is stronger in smaller doses. The Studio at One Kings Lane designer Sally Gotfredson recommends Benjamin Moore’s Impervex Latex Enamel High Gloss for a cost-effective but high-quality result. The key things to remember are 1) invest in a good brush or roller, and 2) make sure the air is free of dust before you begin (as with lacquer, imperfections will show). You’ll also want to make sure that the surface is clean and primed—pristinely so. Trust us, the effort will be well worth it once you’re on your final coat.


Join the Discussion