
We headed to one of the seafood capitals of the East Coast—Nantucket Island, 30 miles off Cape Cod—on our hunt for a refreshing new take on cooking fish. There, Greg Margolis, culinary director of the new Nantucket Culinary Center and a seasoned chef on the island, walked us through the entire fish-preparing process, giving us a definitive guide for how to handle any firm-fleshed fish such as salmon or striped bass.
Best of all, he shared his favorite way to bring out a fish’s flavor, loud and clear: a 20-minute dip in an herb-and-citrus cure. “It’s an age-old Japanese method for preparing fish,” Greg says. Curing, which is really the same as brining, is having a moment, he adds. “Everyone’s into brining their Thanksgiving turkey. This is a similar idea, but it only takes 20 minutes.”
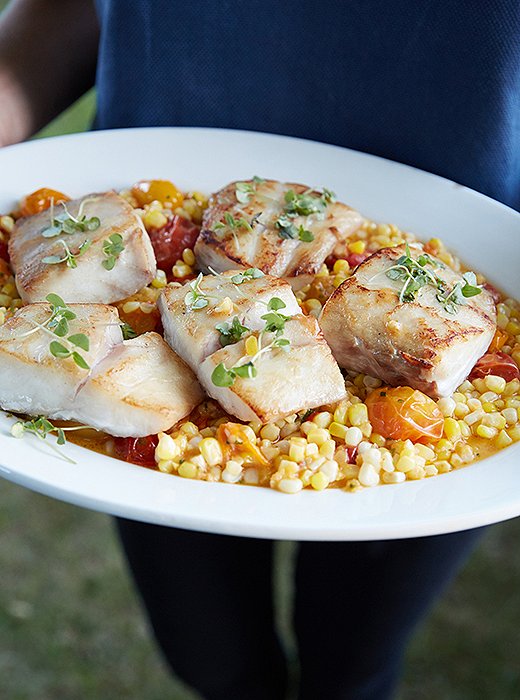
Served on top of his easy tomato-and-corn base, the whole thing is wildly delicious and fuss-free, which makes it a perfect party dish. Every time we’ve made it since our lesson with Greg, it’s vanished almost instantly.

Everyone’s into brining their Thanksgiving turkey. This is a similar idea, but it only takes 20 minutes.
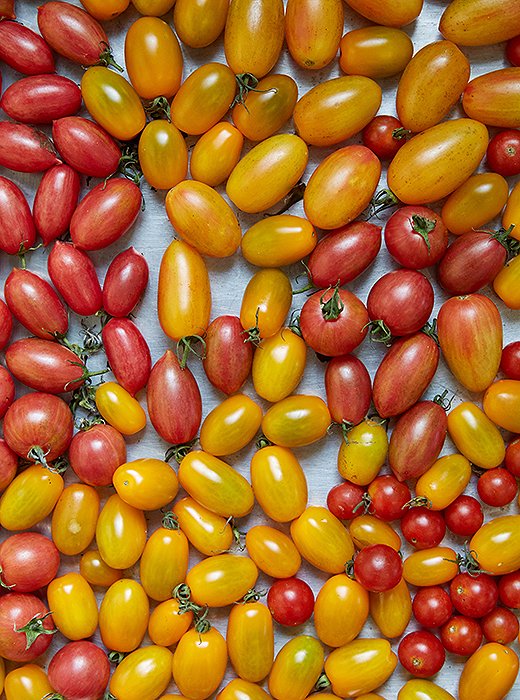
Loads of heirloom grape tomatoes (a bit smaller than cherry tomatoes), ready to become a base for the fish.
Herb-and-Citrus-Cured Striped Bass with Buttered Corn and Tomatoes
Ingredients
For fish:
A fillet of striped bass or other firm-fleshed fish such as salmon (keep in mind a typical serving is six ounces; when you ask the fishmonger to remove any bones, you can also ask him to skin and portion it)
1 cup salt
1 cup sugar
zest of one lemon
cracked pepper
a few handfuls of fresh herbs (such as thyme, rosemary, marjoram)
microbasil, basil, or chives to garnish (optional)
For the vegetable base:
5 or 6 ears of corn (shucked and removed from cob)
3 pints grape tomatoes
1 stick unsalted butter
Step 1: Take Fish Skin Off Like a Pro
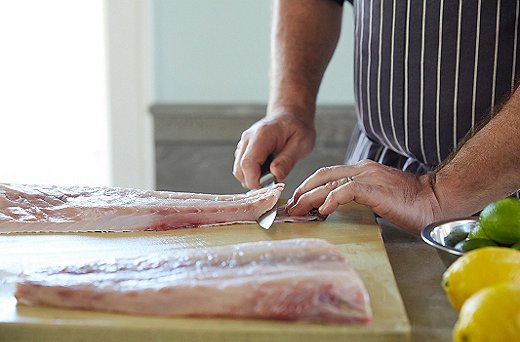
When putting the fish onto your cutting board, Greg says, “give it support; always use both hands.” Even firm-fleshed fish are delicate. Take a chef’s knife—not your sharpest one—and start at the tail end, slicing off just the skin on the bottom with a gentle back-and-forth motion.
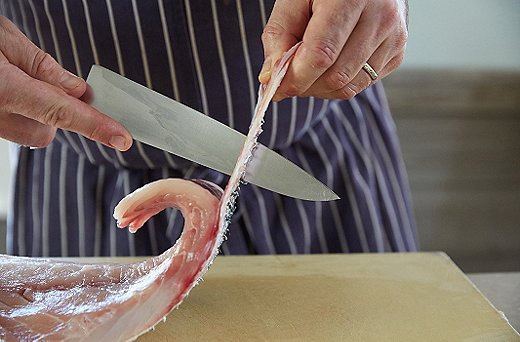
Once you’ve gotten a little ways in, flip the knife up and cut a vertical line, about two inches long, in the skin. That will give you something to grip as you cut off the rest of the skin.
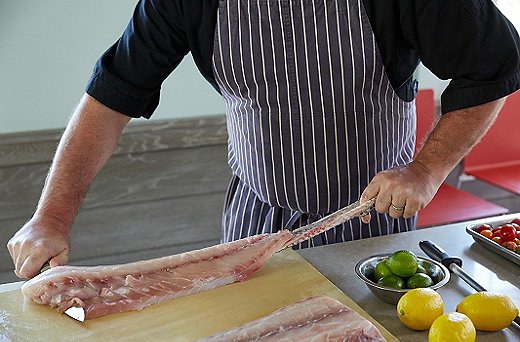
Using your new grip to steady the fish, go all the way to the end. Bask in the accomplishment. Then cut off any stray flyaway bits that look like they don’t belong. Unless you like the superoily bit, you can also cut out the blood line of the bass, which runs along its length and looks much darker than the rest.
Note: Of course, you can skip this part if you buy the fish with the skin already off, but use this guide if you get a skin-on fillet (or catch the fish yourself!).
Step 2: Cure the Fish
Cut the fish into six-ounce portions (each about the size of a deck of cards) and set aside. In a big bowl, mix up your cure: salt, sugar, lemon zest, pepper, and herbs. Coat each piece of fish with the cure before letting it rest on a tray. This cure is part of the reason “you want a firm-fleshed fish, since you’re knocking the fish around a bit,” Greg says. Let it sit on the counter for 20 minutes or so.
After 20 minutes, bring the bowl to the sink and thoroughly rinse each piece off in cold water. The fish will feel firmer. Pat each dry with a paper towel or a clean kitchen towel. After this little bath, “it needs nothing,” says Greg, as far as additional flavoring.
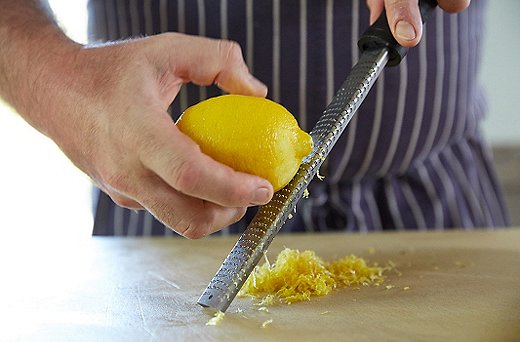
Greg calls the microplane zester “the greatest kitchen invention of the last 20 years.” Sold. All this good zest, along with the herbs, imparts a subtle but real flavor.
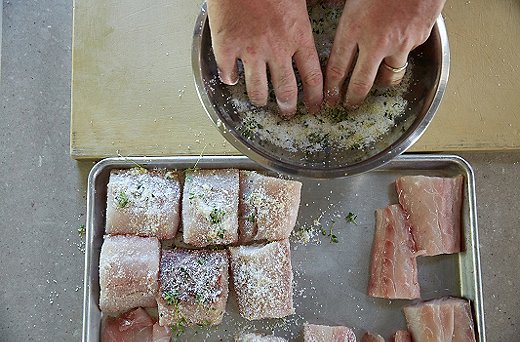
Greg advises “really packing on the cure,” since you want it to cover the entire surface area.
Step 3: Get Cooking
Preheat the oven to 400 degrees. On a stove, place a nonstick pan on medium-high heat. Once it’s heated, add a high-heat oil (grape-seed, sunflower, or canola). When the oil “really slides down the pan easily,” put on a few fish fillets flesh side down.
When the flesh side looks like it’s beginning to get opaque at the sides, gently check to see if it’s browned. Remove it to a cooking sheet once it’s nicely browned—this gives it a good look and also starts the caramelization process.
Once all the fish pieces are browned, put the sheet into the oven for 6-8 minutes. Greg suggests using a cake tester to check its doneness: “If the tester has any drag, the fish isn’t ready. It should glide right through.”
Note: After the fish is cured, you could grill it instead. For those without an outdoor grill, Greg’s a huge fan of a grill pan on the stovetop—“an incredibly effective tool, since it distributes heat so well. Also, they’re cheap.” Wherever your grill, make sure it’s well cleaned and well oiled, and treat the fish more delicately than you would a steak: “Fish is a finesse game,” Greg says.
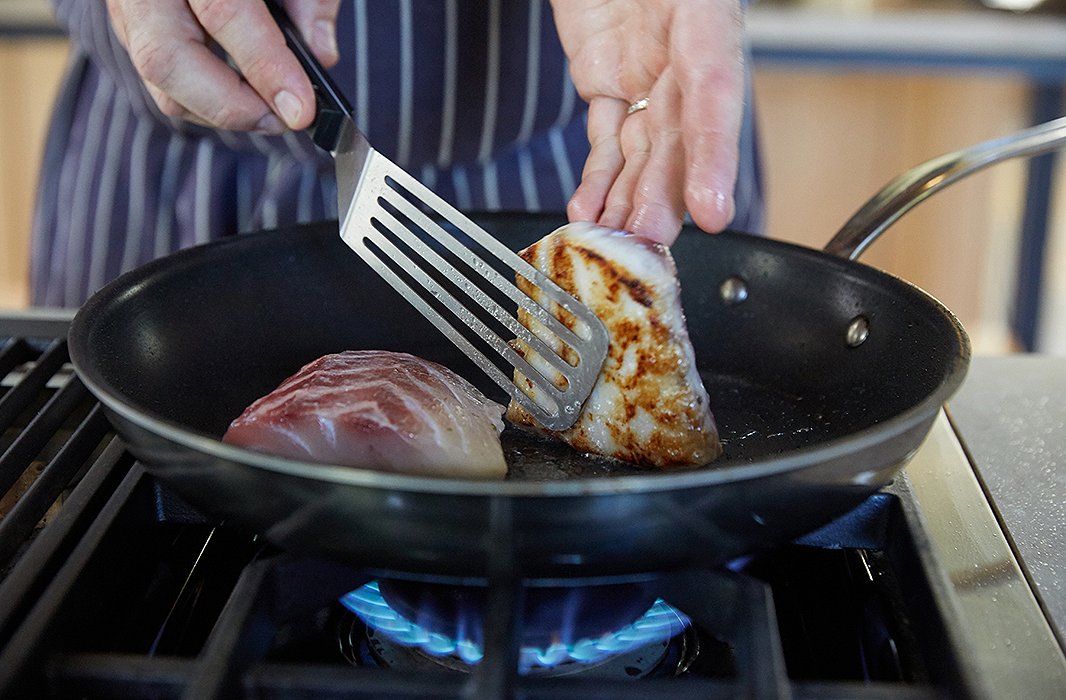
Greg peeks at the bottom of the fish: perfectly browned and ready for the oven.
Step 4: Give It All a Buttery Base
Shuck the corn, removing the silky bits, and then scrap off the kernels into a bowl. Run the back of the knife along the leftover peaks to get a bit of extra corn out. Have your grape tomatoes washed and ready.
Put a stainless-steel pan on high heat. Here’s Greg’s own step-by-step: “Take a sip of wine and let the pan get hot, then add a good amount of oil so that the tomatoes will blister and pop like water balloons.” Once the oil looks watery, add the tomatoes. They will squeak and begin to split; give them a few minutes to break down (another sip of wine). Then add the corn and butter, and turn down the flame to medium-low heat. Stir, letting the dish cook for about five minutes.
To serve, ladle the vegetable base onto each plate. Then place a piece of fish on top, finishing the whole thing with microbasil, a chiffonade of basil, or fresh chopped chives. Serve immediately.
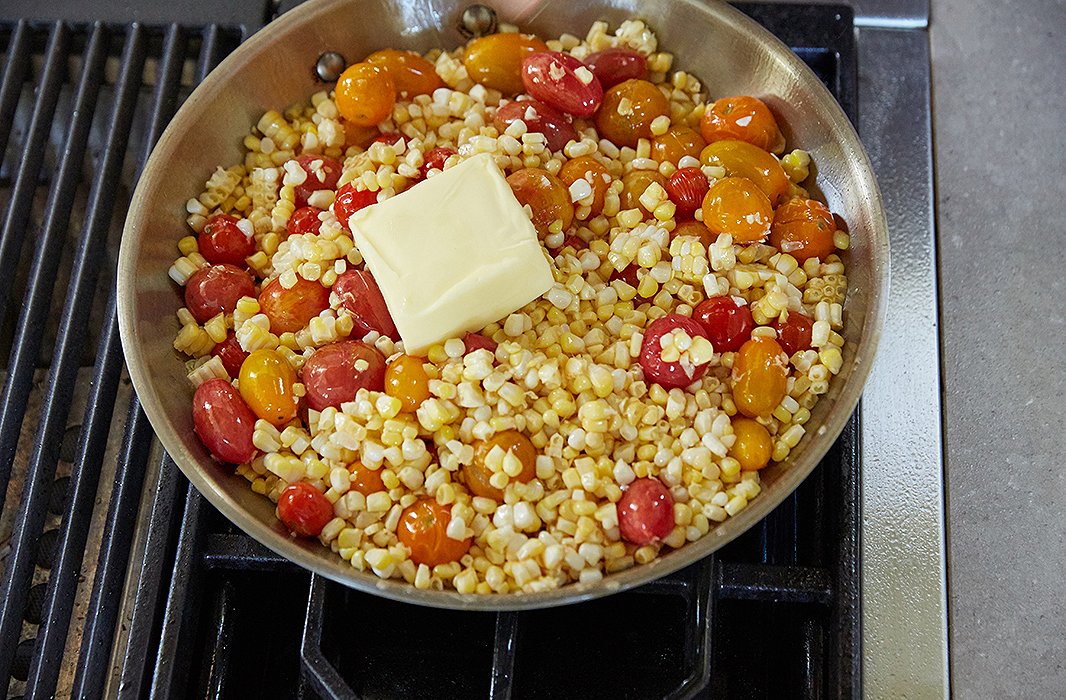
We know, it looks like a lot of butter. And it is, but there’s nothing like that heavenly taste of buttery corn on the cob, with extra tomato juiciness.
Voilà—the fish dish of our dreams.


Join the Discussion