I’ve always loved this quote from Cicero: “If you have a garden and a library, you have everything you need.” The garden part had always seemed tricky to come by, especially for us city-dwellers, but recently I stumbled upon a possible solution: an indoor garden. Even if the garden didn’t provide food as it would have needed to in Cicero’s time, I thought, it could breathe rich life into our home.
This solution meant a radical departure for me. Until very recently, we didn’t have a single plant in our home. Not one. I admired the glowing-green radiance they brought to friends’ homes, of course. I might spot a billowing fern and almost take it home, but then I’d chicken out and buy low-commitment place mats—in other words, inanimate things that could survive on their own—instead.
Newly fixated on our lack of plants, I started seeing beautiful examples everywhere. House plants, which once called to mind the unsexy jade plant, are enjoying a moment in the sun design-wise. At our Brooklyn farmers’ market, the new stand selling succulents has quickly overshadowed the stand full of artisanal cheeses. Pinterest is abuzz with the latest plant trends from Japan. Flip to any page of an interior magazine and there’s a plant, radiant as a fresh-faced starlet.
As a total beginner, blindly buying plants didn’t seem wise, so I tapped one of New York’s leading garden-design companies, Jungle Design, for serious expertise. Along the way, I learned the proper way to pot, water, and decorate with plants. And how, even in the shadiest spot of one’s apartment, it’s completely possible to have a little garden.
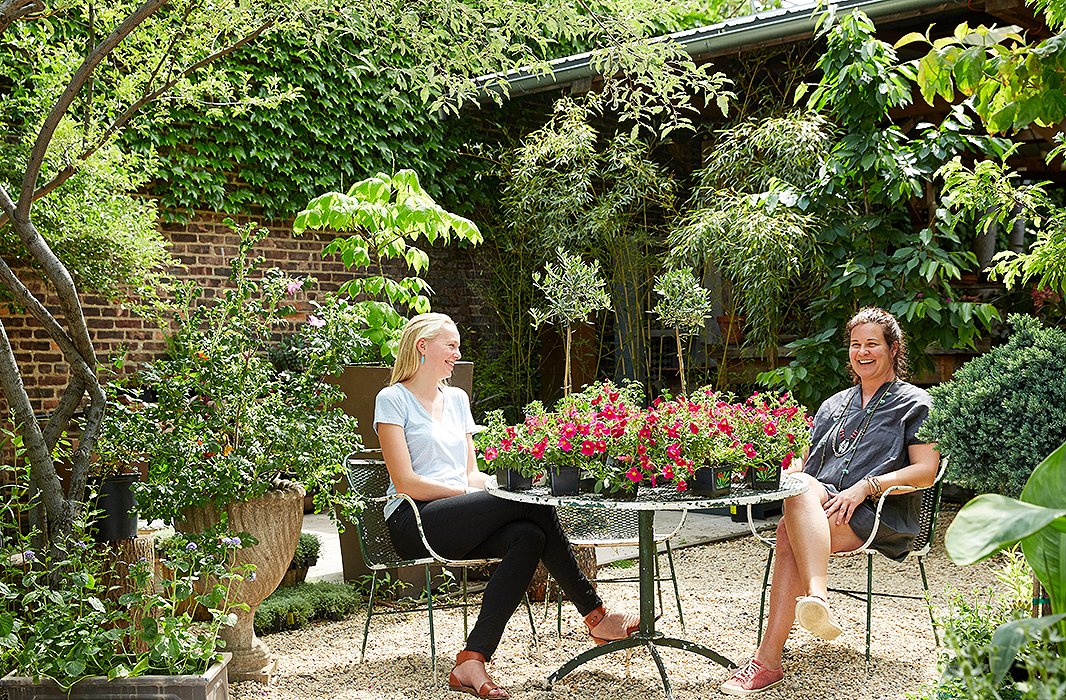
Amanda Mitchell (right), founder of Jungle Design, and I chat plants.
Into the Jungle
As a Southerner transplanted to New York, Amanda Mitchell brings a fresh, outdoorsy ease to her Williamsburg, Brooklyn, space. A weeping willow tree she planted six years ago on her otherwise-industrial block must be 25 feet tall now. She founded Jungle Design after running an architectural-salvage business, so she brings a killer eye for design to every project. Jungle Design does plant installations that could be mistaken for the work of an interior designer. It once created a transporting moss-and-black-bamboo garden in the shop for Port 1961. Another time, it hung rows of vines in a huge loft apartment to create, essentially, living green walls.
Amanda and I sat down and talked plants. Straight off, she brought up the central fear a lot of us have about indoor plants: Isn’t this all a waste if I’m not sure I can take care of them? “I know people worry about spending money on plants,” she told me, “but really, the pot and the soil are the biggest expense. You might dig a $50 hole for a $5 plant. And trying is the only way to ever learn about plants.” If the plant doesn’t pan out, you can try again with the same pot and soil. No guilt, Amanda says, “because plant material will just get reabsorbed into the earth.”
Okay, cool. I was already breathing easier. We spent the rest of the day in a crash course on caring for and falling in love with plants. Below is a breakdown of the many lessons I learned. Here’s hoping this turns us all into intrepid fern-collecting people whose homes hum with natural life.
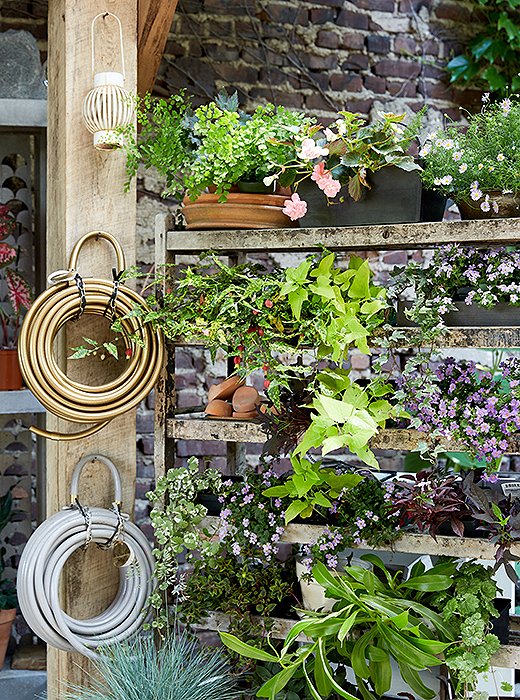
Amanda sources many of her plants from Jim Glover, of Glover Perennials, which supplied many of the plants for New York’s High Line. She tries, whenever she can, to offer plants native to New York and the larger Northeast area.
Lesson #1: Use Nature As Your Reference Point
Before you take a plant home, Amanda suggests asking the nursery about its natural environment, or perhaps better, doing a quick Google search yourself. “If you know the basics of how a plant grows in its natural environment,” she says, “you can recreate that—without going crazy, of course.” A plant that in nature lives under a tree canopy will do well with almost no sun. Or you might learn it prefers to take water through its leaves, not through its roots.
Not only does this set you up for success, but healthy plants will also contribute the most to your environment: They’ll absorb more CO and help to purify and cool the air. And, Amanda adds, “don’t underestimate the thrill of the moment when a plant you’ve been caring for suddenly blooms.”

If you know the basics of how a plant grows in its natural environment, you can recreate that—without going crazy, of course.
![“If someone travels a ton or her job is really demanding, I help steer her toward plants that will be totally fine left alone for stretches—the plant called mother-in-law’s tongue [aka snake plant] might be a perfect way to start,” says Amanda.](https://okl.scene7.com/is/image/OKL/061716_JungleDesgin_18?wid=520&op_sharpen=1)
“If someone travels a ton or her job is really demanding, I help steer her toward plants that will be totally fine left alone for stretches—the plant called mother-in-law’s tongue [aka snake plant] might be a perfect way to start,” says Amanda.
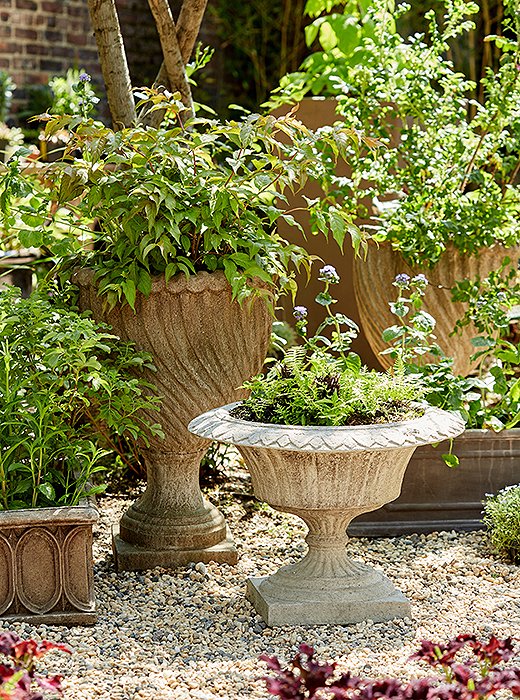
Part of the fun of making an indoor garden lies in breaking the rules on which vessels might typically go outside or in. What’s more, delicate pieces like an antique plant stand can be easier to preserve indoors. Wouldn’t one of these weathered urns look lovely in a foyer?
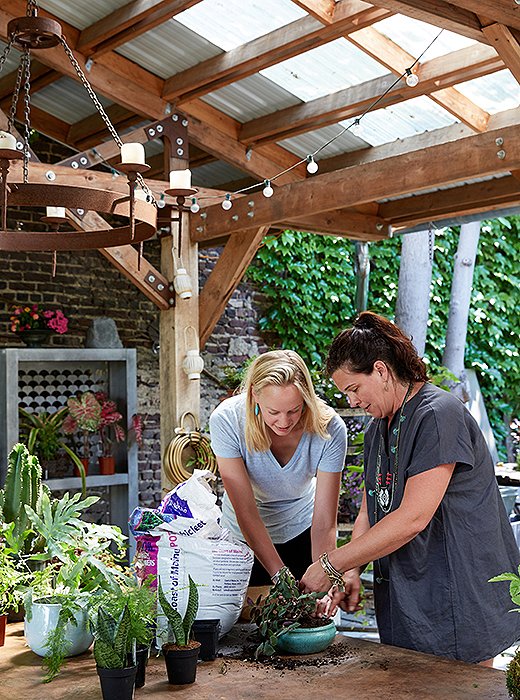
Amanda shows me how to pack potting soil into a pot. Getting your hands dirty is all part of the therapy that gardening—wherever you’re doing it—will give.
Lesson #2: Pot Right
I’d assumed you put some dirt in a pot and add the plant. Not quite. Amanda recommends a few more steps, but they are all geared toward setting the plant up for success. Here’s potting done properly:
• Add a drainage layer to the bottom* so that the soil won’t compact over time and clog the holes. Amanda suggests using chunky rocks (make sure they’re much bigger than the drainage hole, otherwise they’ll clog it and defeat the purpose), volcanic pumice, or even Styrofoam peanuts left over from a package. Then add a layer of potting soil.
• Take your plant out of its plastic box, and loosen up its roots (you can even use a tool here to lightly scrape them). “Plants grow based on memory,” Amanda explains, “and you want them to grow down.” Loosening the roots lets them find that downward direction in the new pot.
• Press the plant into its new pot. Then spread more soil around it and press the dirt down, tapping to get more air out. Repeat with even more soil. This ensures that the dirt won’t sink to the bottom the first time you water.
• Give it time to settle into its new space. “When you buy a plant from a nursery and repot it, it naturally goes through stress,” Amanda says. “It might lose leaves. Give it a week or two to acclimatize. If it’s still struggling, call the nursery.”
*Many low-light plants, such as ferns, can be watered with a spray bottle, so you can skip the drainage layer for them.
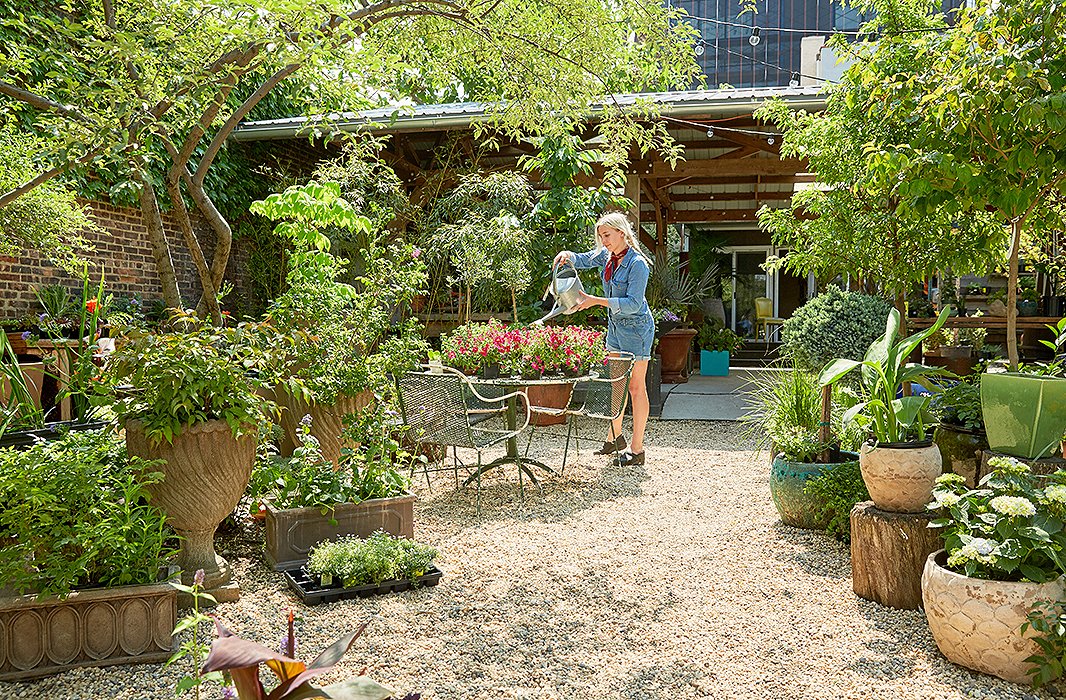
Taylor McAlister, who works at Jungle Design and makes the coolest kokedamas on the side (more on those later), takes time to water the plants each morning.
Lesson #3: Make a Ritual of Watering
Think of watering as a good moment to tune into the natural world—something that every study on earth seems to say is good for us. It might not be quite the same as walking barefoot through your own garden, but, Amanda says, “dead-heading your plants and taking away yellowed or ripped leaves not only helps the plant focus its nutrients in the right places, it can be therapeutic for you.” Make it a ritual at the same time every day: Walk around in the morning, a coffee mug in one hand and a watering can in another. Or at night, substitute the coffee for a glass of wine.
Before you water, poke your finger an inch into the soil to check the dryness. This goes back to knowing your plant: Some plants want to fully dry out between waterings, while others want to stay hydrated. Amanda estimates that “90% of the problems you’ll run into come from over- or underwatering,” and she offers a few tips to make your watering time effective: Use a watering can that creates a “shower effect.” Start watering from the outside and spiral in toward the plant’s center to ensure you get all the roots. Water until it starts dripping out the bottom.
And keep an eye on the leaves; if they’re getting mushy, let the plant dry out. If they’re going brown and crispy, water more often.
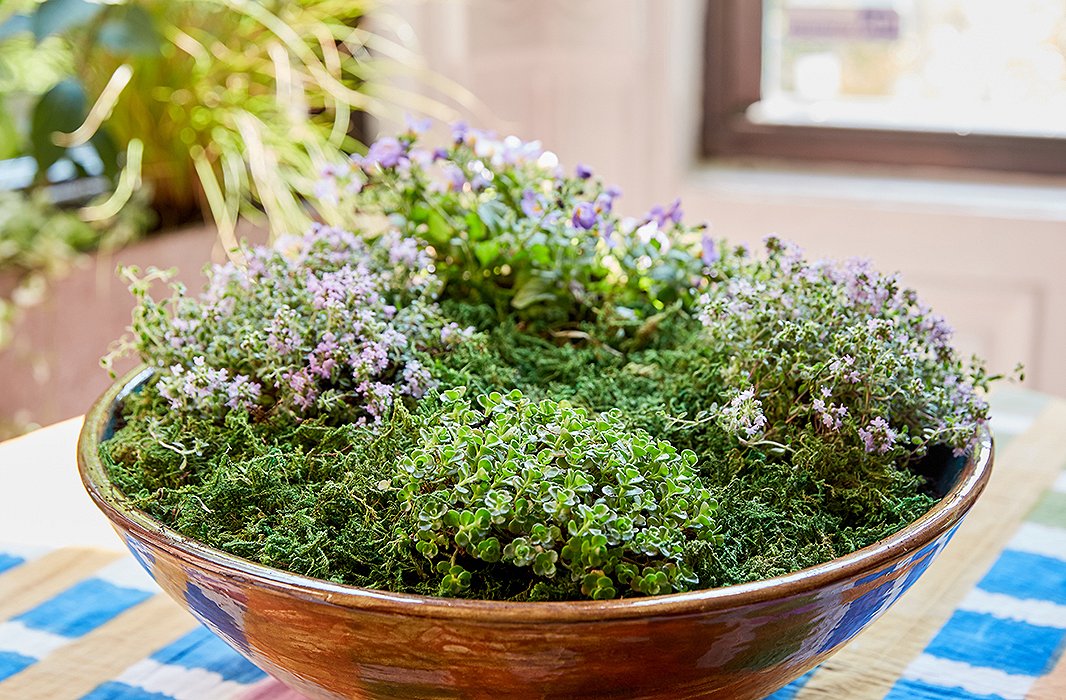
No worries about the lack of drainage: These plants require only a spray-bottle misting every few days. Amanda put in a drainage layer of charcoal and compost peat and told me to make sure the soil dries out between waterings with a spray bottle.
Lesson #4: Put Plants into Cool Pieces You Already Own
As we returned to my apartment armed with what seemed like a nursery-worth of plants, Amanda dreamed up ways of integrating some of them into objects we already had. A teacup, for instance, became the perfect home for a little sedum plant.
Amanda found a starring role for a ceramic bowl I’d recently carried back from Cuba: It became the container for a little coterie of pretty plants that I’d admired back at the store, from John Creech sedum (a hearty plant that loves to spread) to pink chintz creeping thyme (which, outside, attracts butterflies) to double blue bacopa (a sun-loving bloomer). The moss she spread between each plant gave the whole arrangement a comforting vibe—very alive and soft. It’s a mini garden unto itself.

I think of it as survival of the fittest. As I plant, I let each plant go wild and see how they each do.
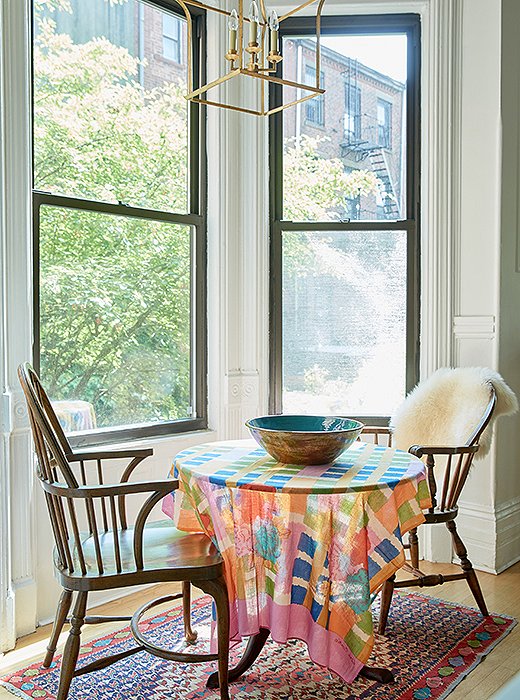
Our breakfast nook, across from the kitchen, pre-plants. The space has the slightly awkward lines of a bay window, and I struggled with how to integrate it into the rest of the kitchen. The idea of a kitchen garden—even one that only loosely followed that definition—seemed just right.
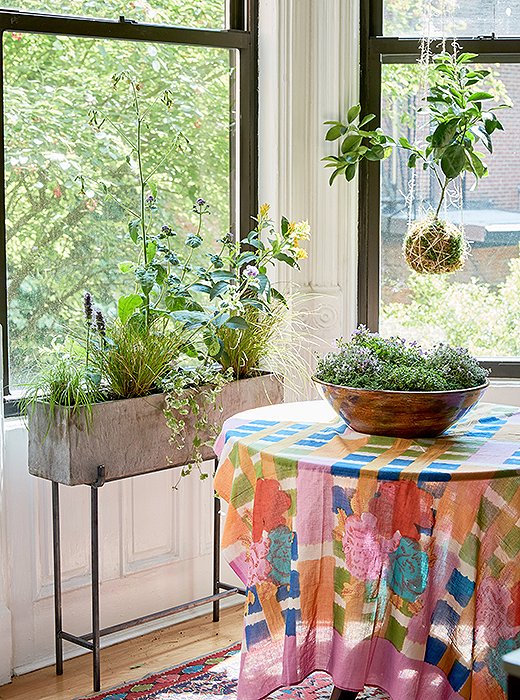
After Jungle Design’s (very movable) installation, our kitchen now looks out on an indoor garden. Besides the prairie fire grass (or Carex testacea, which spouts colorful grasses), there is blooming jasmine (or cestrum, which brings a lovely scent), hummingbird mint (or agastache, which outdoors would attract butterflies and bees), blue horizon ageratum (from the aster family), and a trailing plant called glechoma (an aromatic ground ivy).
Lesson #5: Dream Up Your Own Kitchen Garden
The traditional kitchen garden—a plot planted with vegetables, herbs, and other edibles—calls to mind a French country house where you might pop out for thyme in the middle of cooking soup. It’s more practical than, say, a flower garden. Why not bring it indoors?
With this in mind, Amanda suggested a window box—propped up on a plant stand—in the center of the bay window, which our kitchen faces. When I thought about it, what I really wanted to see when I looked up from the kitchen sink was lots of grasses, so that’s what we did. They remind me of long walks on the island where I grew up, a perfect sight while I’m rushing around making breakfast.
Jungle Design gave me a very un-French style of kitchen plant: a kokedama, which is a Japanese-style hanging tree. Taylor, a major plant talent who works at Jungle Design, made the kokedama by packing bonsai soil and mosses around its roots (the bonsai soil ensures that it will grow at a glacial pace). Mine will produce Meyer lemons, unbelievably enough. Taylor also makes rosemary and basil kokedamas. You water a kokedama every week by taking it out, letting it soak for two hours, then putting it back in its spot.
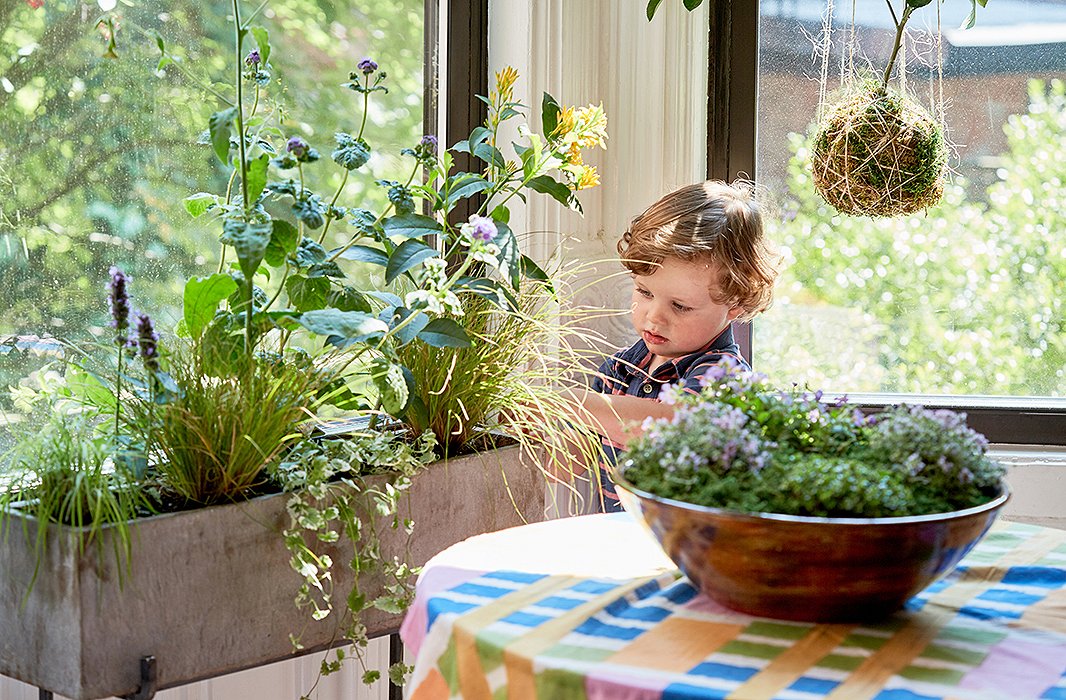
My son, Henry, took it upon himself to fix the flow of these prairie fire grasses. This photo was taken before he discovered the joy of misting plants with a spray bottle.
Lesson #6: Let Children Get Their Hands Dirty Too
The fun, experimental nature of growing plants is like catnip for kids. My son was riveted during the entire installation, as psyched as if we were getting a playground put in indoors. Amanda, whose own son is nearly a teenager, has a few smart suggestions for channeling this curiosity. For starters, “give them a spray bottle—they love to use them, and they can’t possibly overwater using mist.” Henry now has his own drugstore-purchased sprayer and has become a dutiful waterer, often springing into action right after breakfast.
Amanda also suggests growing vegetables as a way to get your children into eating produce: “Even if it’s something they claim to hate, kids will love anything that they grew themselves.” Red-leaf lettuce in the kitchen garden, perhaps? Or, she says, try the relatively instant gratification of planting beans indoors—in three or four days, a little green shoot comes up. A perfect thrill.
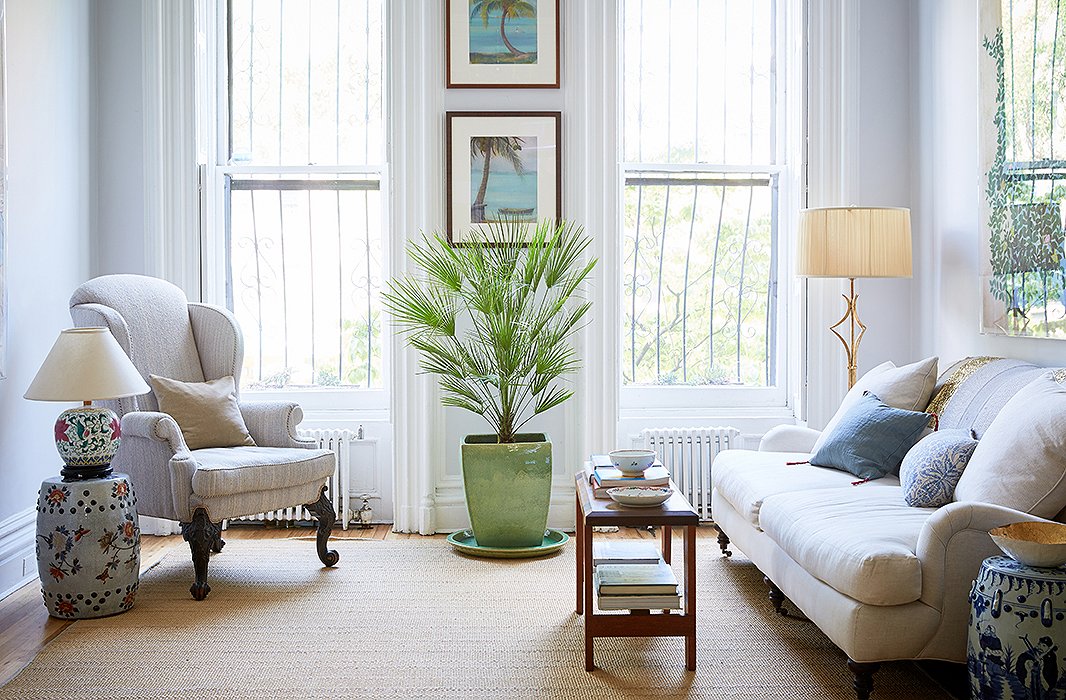
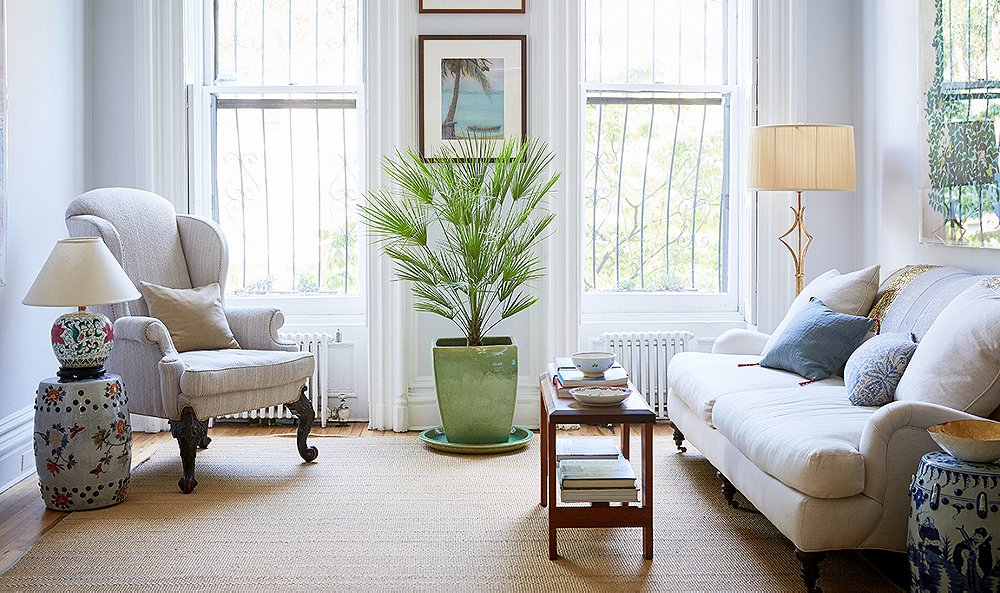
To my eye, this new Chinese fan palm radiates serene elegance. As a bonus, Amanda told me it’s fine to cut one or two of the palms occasionally and put them in a vase for dramatic effect at a dinner party.
Lesson #7: Sometimes All You Need Is One
The front of our living room needed a pop of life too. I didn’t want anything elaborate, though—there’s a lot of art there, along with all the street life and trees outside.
For such a light-filled spot, a plant with a tropical vibe seemed right. At first I fell for a giant palm, before realizing its grand branches would overpower the space. Then Amanda pulled out this Chinese palm, which fit neatly underneath a pair of pastels (pastels of palm trees, as it happens). Since this is a high-visibility spot, the pot also needed to deliver some punch and beautiful color. I think this green pot adds just the right verdant layer.
Amanda gave me a few other of her favorite go-to plants for sunny spots. She especially loves euphorbia—also known as spurge, which can take lots of beautiful shapes—and hibiscus, since it comes in many colors and blooms for months at a time.
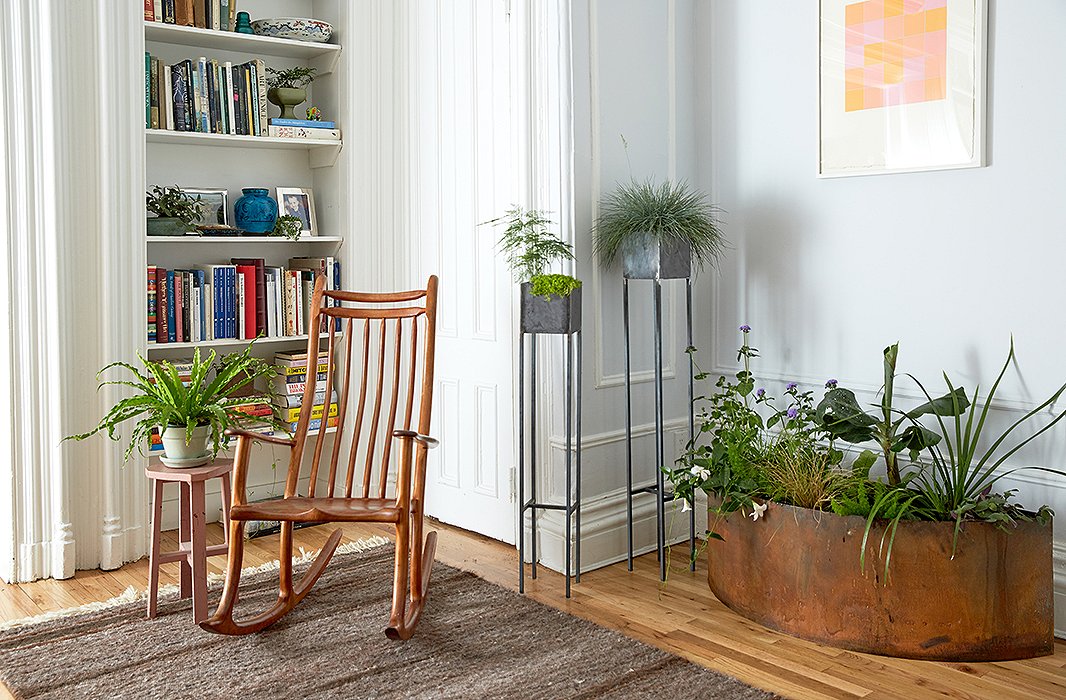
This nook used to be littered with toys. Now you could almost call it a garden and a library in one. The shorter plant stand has a foresty pairing of asparagus fern and Scotch moss. The taller one contains Festuca idahoensis (also called siskiyou blue), which I love for the almost powdery tone of its blue-green grasses. In addition to the plants here, Amanda says that elephant ears work wonderfully in shady areas.
Lesson #8: Find a Big Container and Get Garden-y
Here’s where we really went off the houseplant playbook. If you plant a container with many plants, rather than assembling groupings of pots, you’ll go a long way toward feeling as if you have a proper garden. That’s just what Amanda did, in the least-sunny spot of our living room.
Amanda started with a thick layer of pumice rocks, followed by a layer of landscape fabric (so that the dirt doesn’t creep downward), then potting soil and a compost/peat soil combo. She then mixed the soils “like a salad” with her gloved hands and pushed it down with her fists to get out extra air.
For the style of this small garden, we decided to create a meadowlike effect—again, grasses are key, as is mixing heights and not trying to control the process too much. Just like those old class pictures, put the taller plants (or the ones that will eventually get taller, like the truly tiny banana plant) in the back.
And don’t stress too much about elbow room for each plant. As Amanda says, “I think of planting as survival of the fittest. Don’t give lots of space between the plants, let them go wild, and see how they each do.”
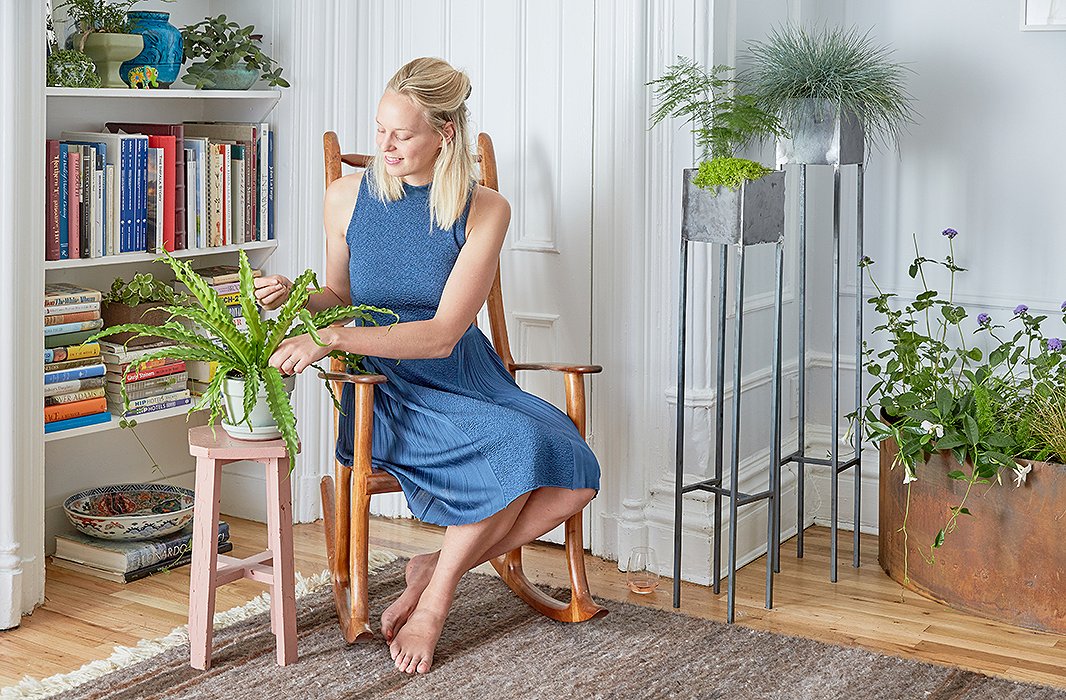
Me, acting as if I have plants figured out. Note the glass of rosé.
The Payoff
As my husband said of our new plant-filled lifestyle, “We’re really going from zero to 60.” I like to think of it as making up for lost time. We’re still getting into the rhythm of when we need to water, but a few weeks in, everything seems to be carrying on happily.
I won’t claim to have suddenly grown a green thumb. This is a work in progress. But somehow the stakes seem lower—we can always try with new plants, I tell myself now. And the payoff seems sky-high. I feel subtly enveloped by lovely greenery, even when I’m washing dishes or working on a laptop. The plants soften the sometimes-hard edges of city living. And I adore the moments when I do feel more attuned to the natural world. The wavy grasses definitely help.
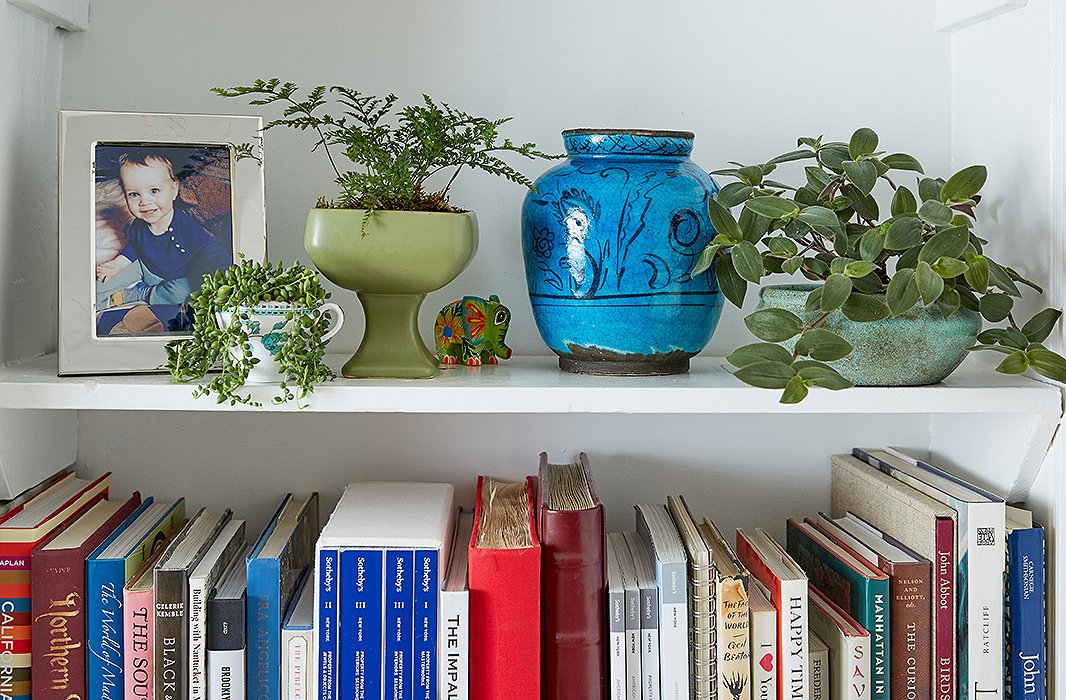
A rabbit’s foot fern and a trailing foliage plant called baby bunny bellies (which should be a children’s book) now live in the bookshelf, along with sedum placed in a teacup.
Amanda’s Guide to Plant Health
Plant Wellness
To boost any plant: “Air is very good for plants—open the windows, turn the fan on.”
When to repot your plant: When the roots are popping or pushing through, or if the plant is losing leaves.
How to go organic: Use organic soil and an organic fish fertilizer (it will build good bacteria and microbes, and keep disease and fungi at bay). She says chemical-based treatments strip soil of the nutrients that support the plants’ health.
Plant Emergencies
How to stave off aphids, which will suck leaves dry: Spray with organic horticultural oil or a mild organic detergent to suffocate them, then wipe off.
If you get a white buildup in the soil or the pot: This can come from fertilizers used by the grower or you; leech out the excess minerals with a good long soak.
If your plant gets wet feet: “If you’re watering a plant and it’s not draining or drying, it starts getting root rot. Usually it starts on the stem, which will turn brown or black, or the leaves will get brown and musty. Stop watering for a while until it fully dries out, cut off the mushy parts, and consider repotting if it’s a drainage issue.”




This was a great read; very helpful and inspiring! Thanks for taking the time to be so thorough.