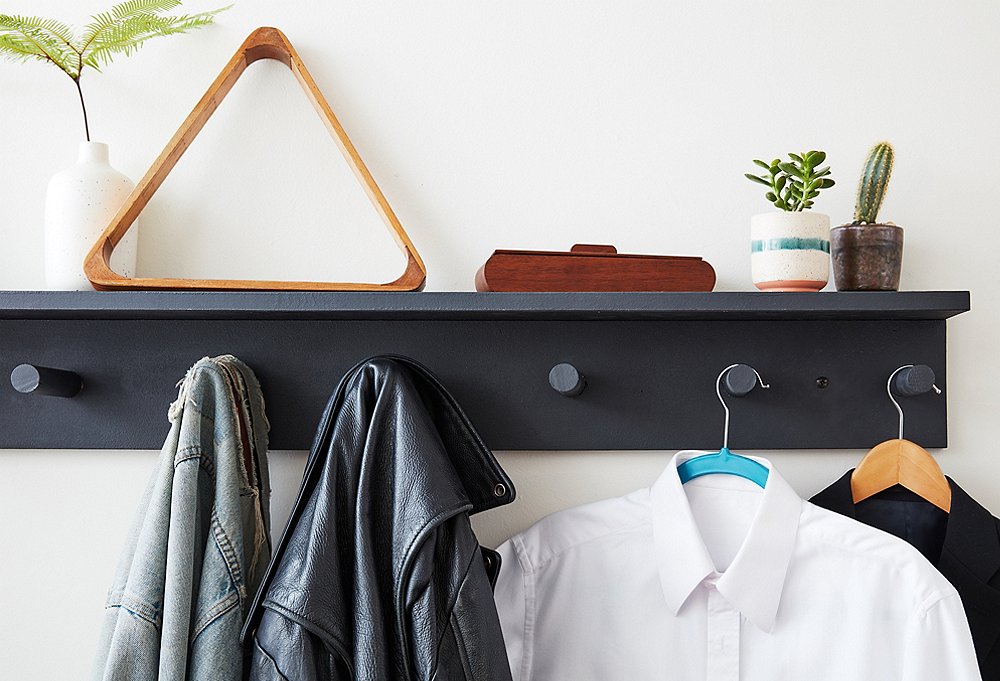
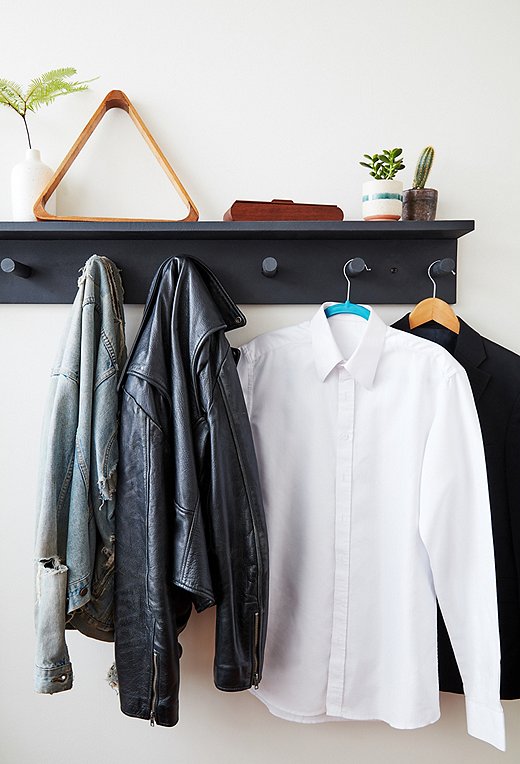
Shaker peg rails are organizational powerhouses, allowing you to store (and display) just about any item in a simple and streamlined fashion. For their recent makeover of a pint-size NYC apartment, One Kings Lane stylists Anthony Santelli and Drew Welsh decided to create their own version, complete with a modern silhouette, a cool painted finish, and a bonus top shelf. Read on for their step-by-step guide to this versatile DIY.
What you’ll need:
– 1-inch x 6-inch wood planks in desired length
– 1 1/8-inch diameter wood dowel
– Miter box and saw
– 220-grit sandpaper
– Metal ruler
– Drill and 1 1/8-inch spade drill bit
– Wood glue
– Small brush
– Wood screws
– Cotton rag
– Rubber mallet
– Latex primer and paint
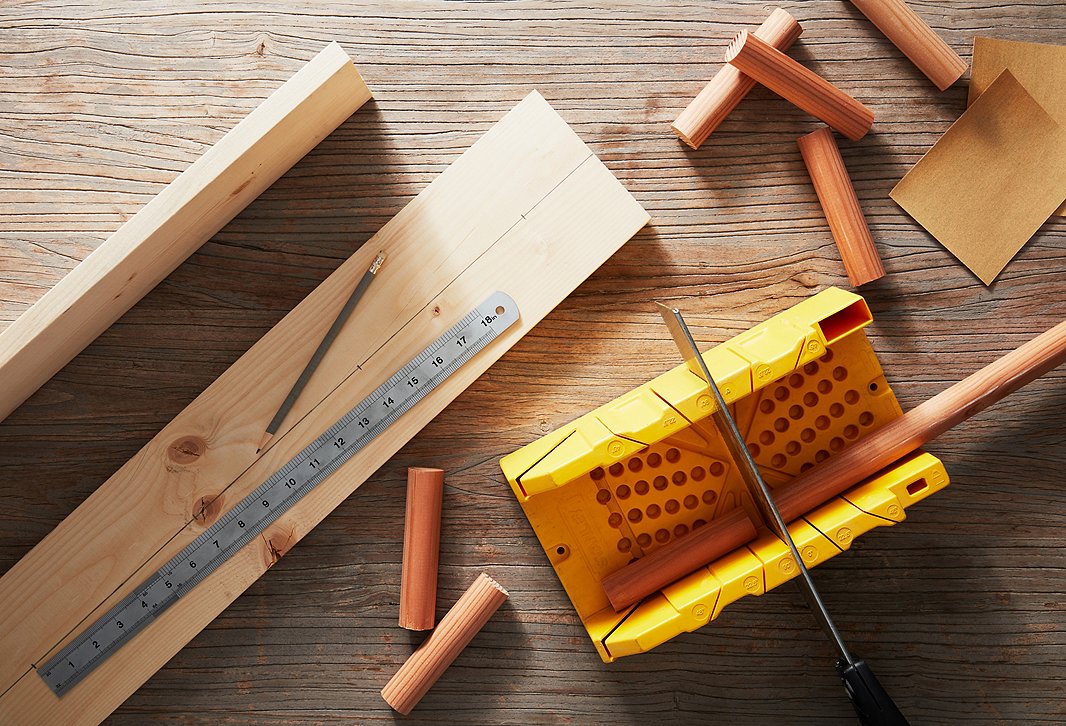
Step 1: Measure
First, determine how long you want your finished peg rail to be. We recommend building longer rails in multiple sections to make them easier to install; our eight-foot rail consists of two individual four-foot sections. Cut the wood planks to create a backing board and shelf for each rail section. (Note: Many hardware stores will cut lumber to your specifications.)
To determine the placement of the pegs, find and mark the center point of the rail. From this point, draw a line down the entire length of the rail. While the number of pegs and the distance between them is up to you, we recommend spacing the pegs evenly and making sure the distance between the last peg and the edge of the rail is the same at each end.
Step 2: Create the Pegs
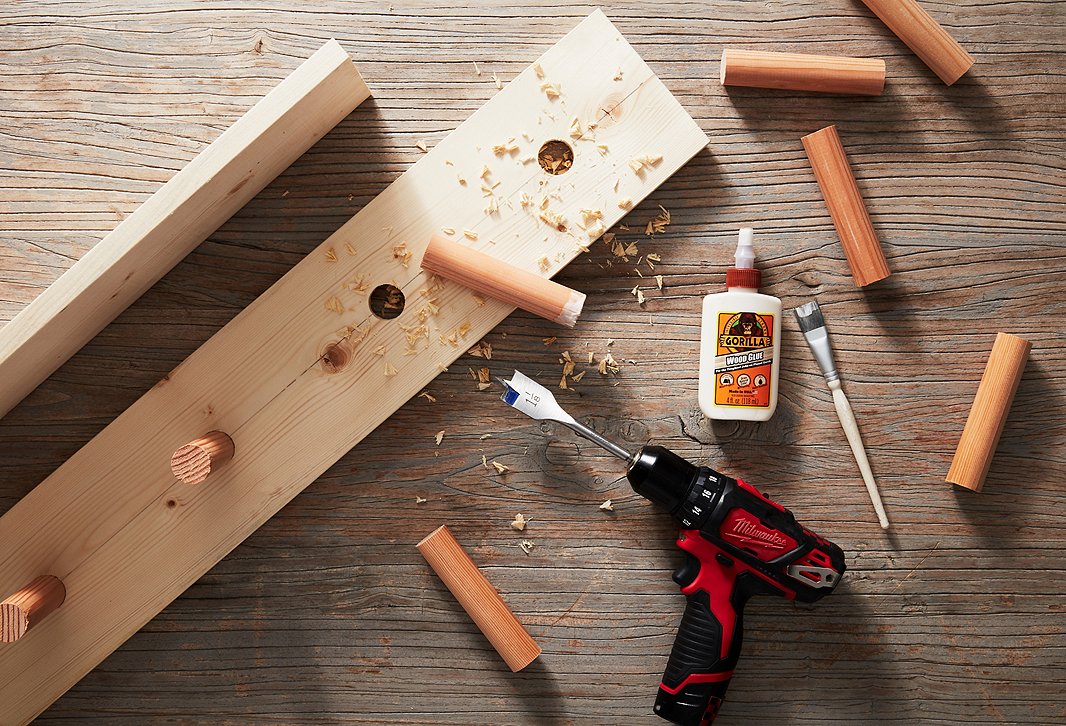
Using a miter box and saw, cut individual 5-inch pegs from the wood dowel; sand any rough edges. Use the spade drill bit to bore a hole for each peg through the backing board at your predetermined points; remove any chips or splinters around the holes with sandpaper.
Step 3: Glue
Position the backing board flat on a stable surface. Brush a small amount of wood glue onto one end of a wooden peg, then use a twisting motion to insert the peg, glue end first, into one of the holes. Wipe off any excess glue with a damp cotton rag. Repeat with remaining pegs. (Note: The inserted ends should be flush to the back of the board; if needed, use a rubber mallet to adjust the positioning of the pegs.) Allow glue to dry thoroughly.
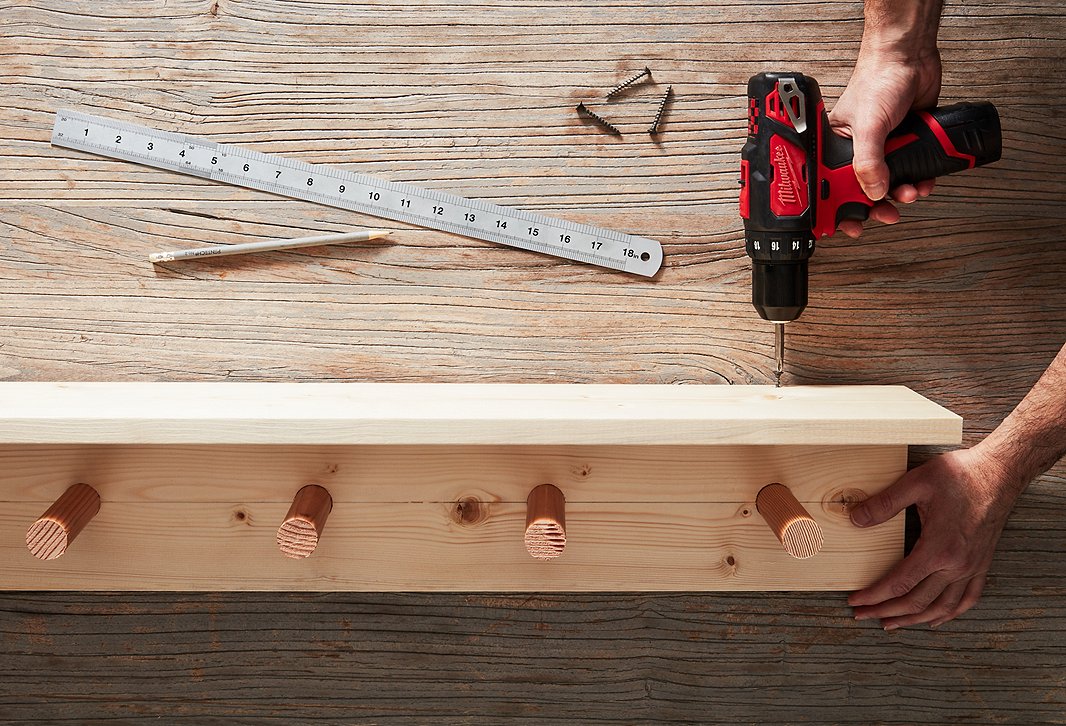
Step 4: Attach the Shelf
Position the shelf on top of the backing board, making sure the edges are flush. Measure and mark spacing for wood screws at 6-inch intervals down the length of the shelf. Use a small drill bit to create pilot holes (this will help prevent the wood from cracking or splitting), then use wood screws to attach the shelf to the backing board. The screws should rest flush with the top surface of the shelf.
Step 5: Paint
Prime and paint the peg rail (we chose Egyptian Onyx in eggshell finish from One Kings Lane Paint). Allow paint to dry fully before installing the rail using mounting hardware appropriate to your wall type.
Enjoy your newly streamlined storage!


Join the Discussion