
The prospect of painting can be daunting to even the most talented of design aficionados. So we pulled together this guide to serve as a one-stop shop for all your painting questions and concerns. Don’t know the difference between high gloss and lacquer? We’ve broken it down for you. Wonder when you should turn to a professional or do it yourself? We asked the experts. We even turned to some of our favorite designers for their go-to paint colors. Read on for more of our best painting tips and tricks.
Color Commentary
The most challenging part of the entire painting process is choosing the color. Do you start with the upholstery in the room? How does art play into the color scheme? Do the flowers just outside the window influence you? Inspiration comes from all over. Atlanta-based designer Mallory Mathison starts where any good designer might. “We like to work off all the fabrics, rugs, tiles, stone, cabinets, and wallpapers in the home and select paint colors as a complement to all the other elements,” she says. Los Angeles-based Mark D. Sikes takes an unconventional route: “The outside around the house is the greatest inspiration. I always like to connect the inside with the outside.”
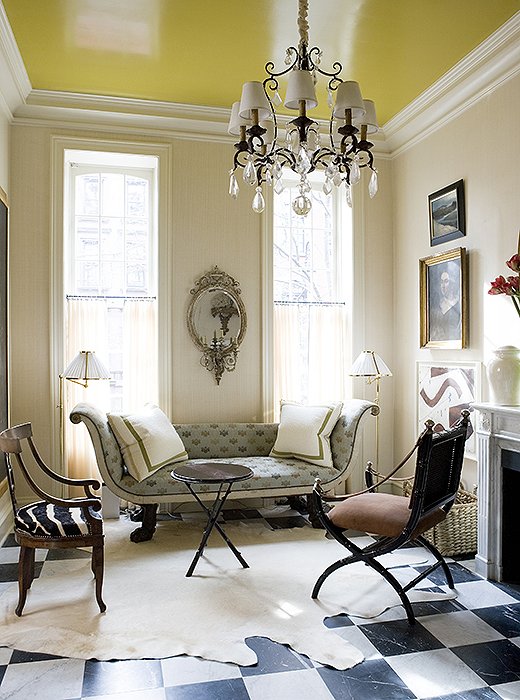
Design by Jeffrey Bilhuber. Photo courtesy of Red Cover.
Picking the color is just the first step. Next comes testing the color: Holding a paint chip up in a room for 30 seconds hardly counts. Benjamin Moore color and development expert Hannah Yeo recommends buying a tester pot of the color to paint a 1′ x 1’ swatch on a wall. Erika Woelfel, the color expert at Behr, adds that when doing so, where you paint is key. “It might be tempting to paint the swatch in the middle of a blank wall,” she says, “but you should carefully choose a section of the wall that’s influenced by what surrounds it.” She suggests putting it near the floor or furniture.
Because the color of the paint will change depending on the light, another option (one I’ve used) is to paint swatches on a piece of foam board. You can place the board around the room at different times of the day to really get a sense of how the color will look.
Playing Favorites
Designer: Mark D. Sikes
Hometown: Los Angeles
Favorite White: Benjamin Moore White Dove
Favorite Blue: Farrow & Ball Skylight
Favorite Accent Color: Farrow & Ball Incarnadine

Farrow & Ball Incarnadine

Benjamin Moore Ballet Slipper
Designer: Janie Molster
Hometown: Richmond, VA
Favorite White: Benjamin Moore Dune White
Favorite Blue: Benjamin Moore Hemlock
Favorite Accent Color: Benjamin Moore Ballet Slippers
Designer: Mallory Mathison
Hometown: Atlanta
Favorite White: Benjamin Moore Cloud White
Favorite Blue: Benjamin Moore Silver Crest
Favorite Accent Color: Farrow & Ball Calke Green
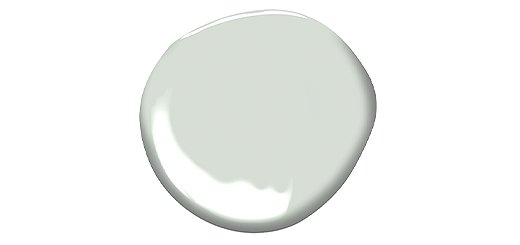
Benjamin Moore Silver Crest
Where to Start with Finishes
Once you have your color picked out, it’s time to figure out which finish you’re going with. “Considering the sheen of paint is just as important as picking out the color itself,” says Jessica Barr, national trainer at Behr. There are many finishes to choose from, and each company has a different name for them. The basics are: flat (sometimes called matte), eggshell, satin, semigloss, high gloss, and lacquer.
Let’s start with the basics. According to Mike Mundwiller, the field development manager at Benjamin Moore, flat paint is typically used on ceilings, eggshell on walls, and semigloss on trims. High-gloss and lacquer paints are a great way to add drama, but they can be difficult to work with. “Be sure that your walls are in great condition because the higher the gloss level, the more you’ll accentuate imperfections,” says Mike.
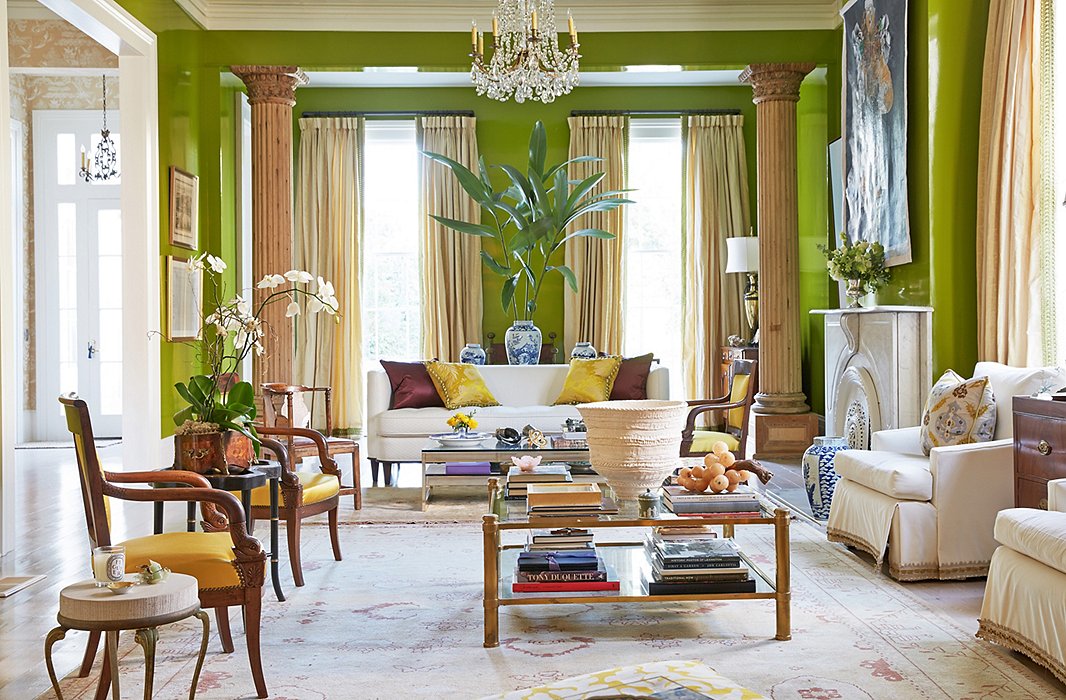
Designed by Jane Scott Hodges and Gwen Driscoll. Photo by Tony Vu.
Lacquer and high-gloss finishes have been growing in popularity over the past few years. Mallory recently used a high-gloss pink paint in the Southern Style Now showhouse that took place in Charleston last fall. “I love, love, love lacquer,” she says. “True traditional hand-applied lacquer finishes are the best, but they are costly, intrusive, and labor intensive. Using a high-gloss paint is a trick we use constantly.”
New York-based designer Ariel Okin used lacquer on a recent project and warns that it’s not for the faint of heart. “Lacquering is a huge undertaking and should not be decided upon lightly. Lacquering the dining room, entryway, and study took months, plus a level-five wall finish and a negative air chamber.” (For more about high-gloss and lacquered paint, check out our guide.)

Design by Mallory Mathison. Photo by Katie Charlotte.
PAINT VS. WALLPAPER
If you’re on the fence about using paint or going for wallpaper, there are some things you need to consider. “We generally choose paint over wallpaper if we feel like the room already has enough texture, color, pattern, and weight,” says Dallas-based designer Jean Liu. For Mallory, her projects break down into about 40 percent wallpaper and 60 percent painted surfaces. Richmond, VA-based designer Janie Molster says that wallpaper is all about delivering a punch. She turns to it in places you don’t visit much, such as a powder room. “It’s a fun surprise,” she says. For wallpaper inspiration, check out our story here.

Design by Mark D. Sikes. Photo by Amy Neunsinger.
DIY or Contractor
Now that you have your color picked, it’s time to get it up on the walls—and to do that, you need to buy the correct amount of paint. If you’re working with a contractor, he or she will help you with an estimate. If you have a DIY streak in you, home improvement stores can help. Also, paint companies including Benjamin Moore and Behr have paint calculators.
Working with a contractor still means you need to do your homework. “Know your terminology and finishes, and ask for samples,” Mallory advises. When it’s time to talk dollar amount, you’ll need to examine the quote in detail. “Check the estimate to make sure you know how many coats of paint and primer make up labor cost and if the paint being used is branded or formula matched,” Jean says. Brand name might be more important than you think, according to Janie. “You can have a top-notch painter give a quote with subpar paint and the finished product will suffer,” she says. If you need help finding a painter, Consumer Reports offers some good tips on finding one in your area.

Design by Janie Molster. Photo by Björn Wallander.
If you’re not working with a painter, where do you start? You might be tempted to simply throw on a pair of coveralls and crack open a paint can. But there are things you must do first. For starters, be sure to cover all the furniture and put down a drop cloth. Next, turn your attention to the walls you’re about to paint.
“Preparation is everything,” says Janie. “Prep and sand, then prep and sand some more. A good painter spends much more time on prep than the actual painting.”
After you prep, it’s time to paint. “The tools often make a big difference between an easy job that looks great and a hard job that doesn’t look so good,” Mike says. You’ll want a roller brush for large spaces, detail brushes for difficult areas and cutting in, painter’s tape, and a ladder.
If you’ve watched any episode of any HGTV show, you’ve seen someone paint a wall in a classic V or W shape. Have you ever wondered if that actually works? The answer is a mixed bag. The Behr team told me you should always roll in a W to evenly distribute the paint. The Benjamin Moore team said it isn’t really necessary as long as the paint is high-quality. The bottom line is that you should go for an even distribution of paint and avoid overlayering.
Don’t Forget the Sixth Wall
You’ve probably heard how the ceiling can be considered the fifth wall—but what about the floor? Some designers take paint a step further and paint interesting designs on the floors. It’s an easy way to create a wow-factor moment. Want to know more? Check out our post on painting your floors.
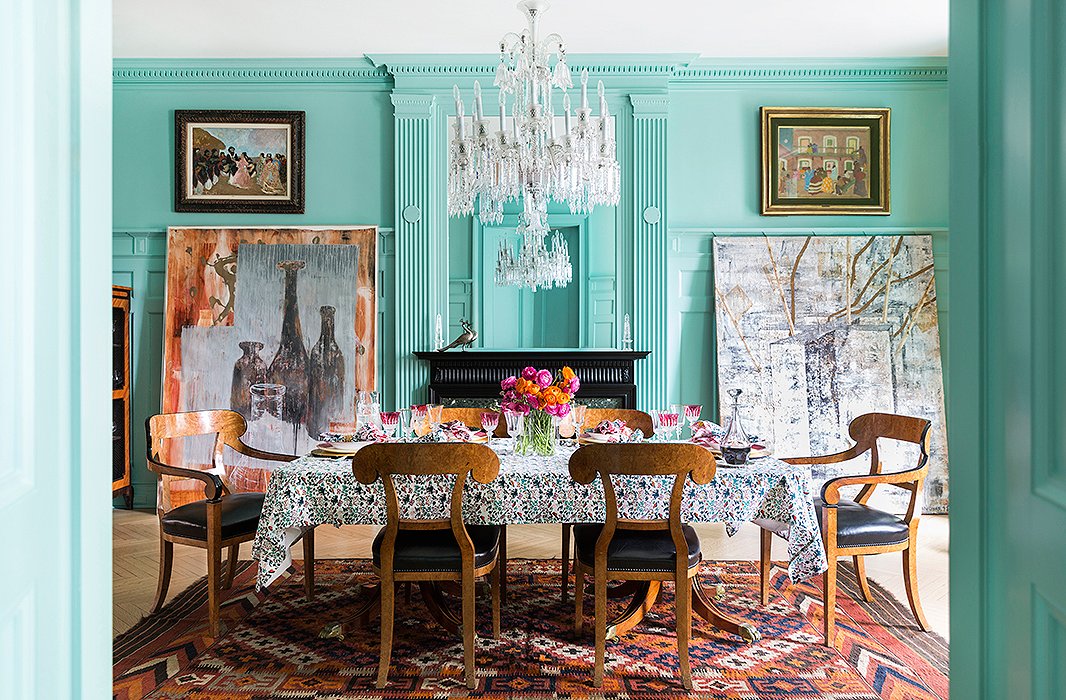
Photo by Lesley Unruh.
Paint is a design-lover’s best friend for one simple reason: It’s the least expensive way to change up your space.

Join the Discussion