Megan Pflug, style guru behind our “Weekend Decorator” column, is an editor and interior designer based in New York. She’s back with her latest crazy-cool DIY project to help bring a little style and cheer to your holiday decorating.
I’ve decorated for the holidays more times than I care to admit. Between clients and editorial projects, I’d guess that I have a century’s worth of holiday decor under my belt.
So this year I wanted to try something a little different and find a few looks that will last through the holidays and into the new year. With longevity on my mind, I started thinking about tassels. Regardless of season, tassels are one of my favorite home decor objects, so I figured why not try to craft a few holiday looks around greenery and wreaths and some of my favorite passementerie. Ready to dive into three easy tasseled holiday decor looks? Let’s get started.

The Tassel Garland
To create this look I used a few large drapery tassels to hang my garland across this bookcase. Because the tassels are so robust they easily support the weight of the garland. Not only was this supersimple to make, but the idea also translates easily to a staircase, a fireplace, or above a doorway. For this look I chose champagne-colored silk tassels because they shimmer against the natural textures of the garland.

Here’s what you’ll need:
6’–8′ garlands
At least 2 large drapery tassels (I used Solaris from Samuel & Sons)
Command hooks
Ribbon (to conceal the top of the command hooks)
Dried flowers or leaves for embellishment
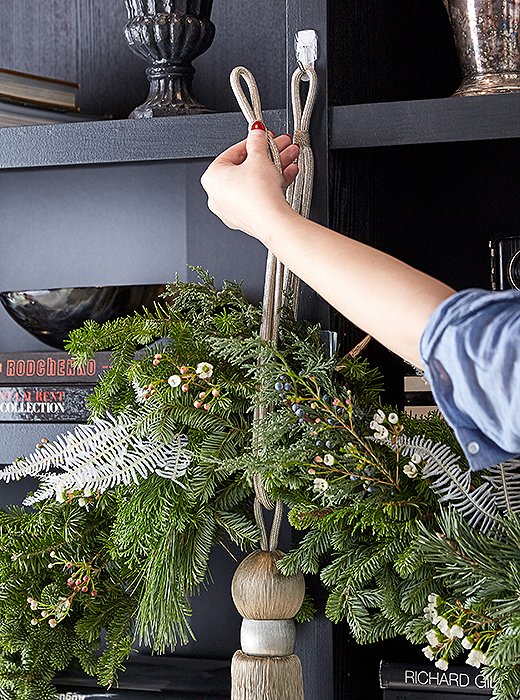
To hang your garland, simply attach a command hook to the front of the bookshelf in all the spots you’d like to place a tassel. Because these tassels are designed to go around drapes, the garland rests easily between the two long ends of the tassel. To conceal the command hooks I tied a few inches of ribbon to the top of the tassel loops.
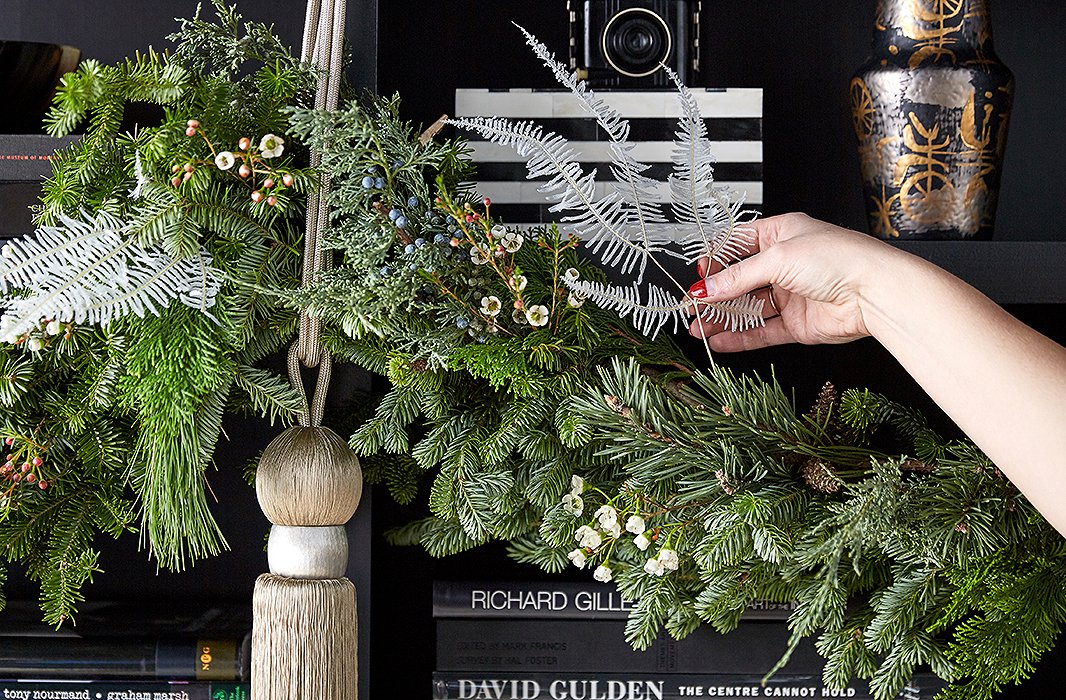

To embellish the garland I used a few sprigs of small pink flowers and some dried white leaves that complement the color of the tassels. I felt that ornaments or lights would overwhelm the look and detract from the beauty of the tassels.
Tip: I think a mixed-green or magnolia garland works best for this look thanks to the interesting textures.
The Tassel and Arched Wreath
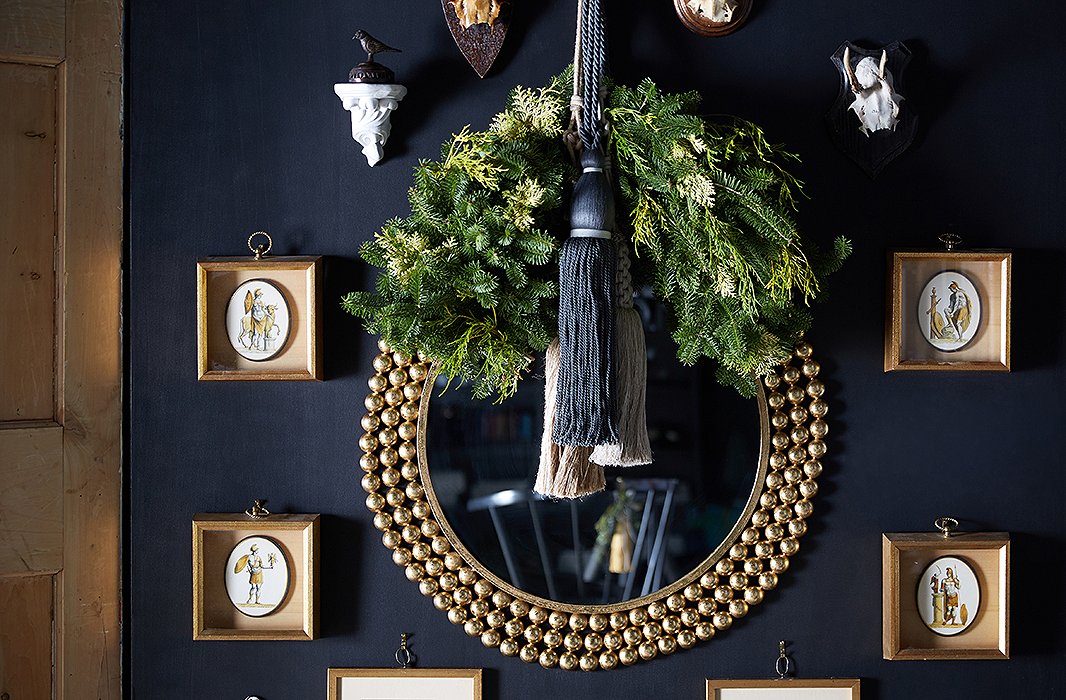
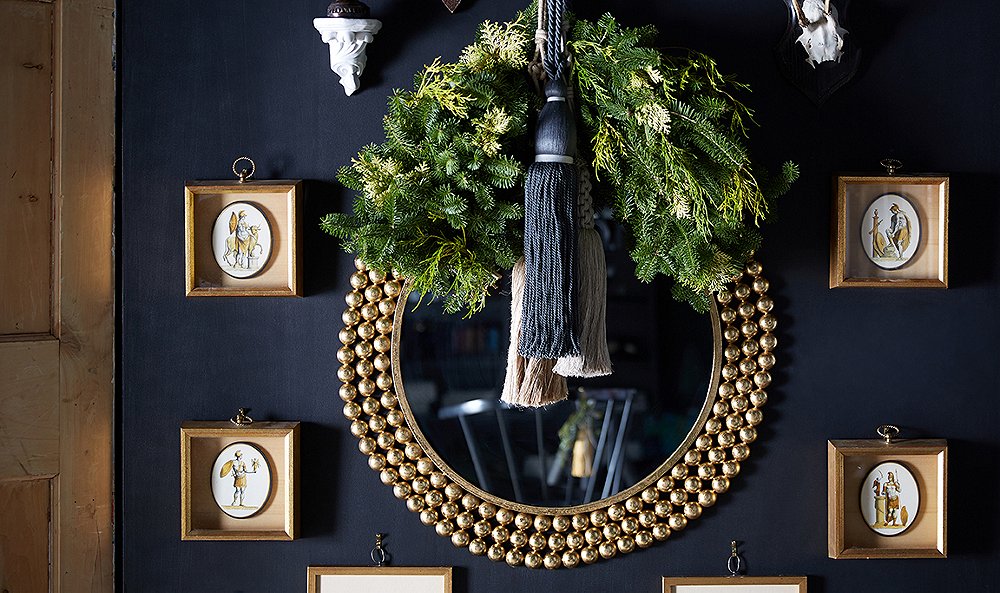
If you’re looking for a smaller statement or simply a fresh take on a wreath, this easy project is for you. I created the arch of greenery by cutting one wreath in half and then using three drapery tassels to hang it. Don’t worry, it’s really simple to cut a wreath in half.
Here’s what you’ll need:
One wreath
Wire cutters
3 drapery tassels (I used Saisons, Abrielle jute, and Abrielle linen from Samuel & Sons)
A command hook or picture hook
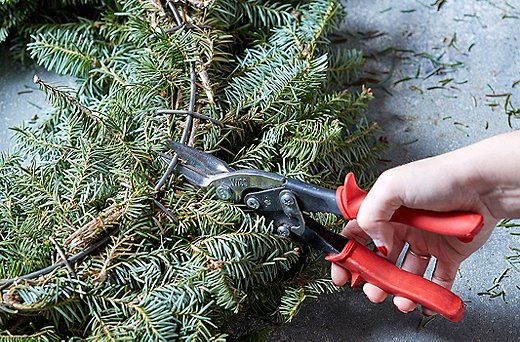


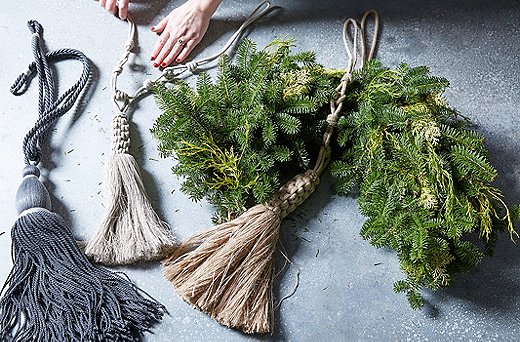
To get started, flip your wreath over so that you can see its wire frame. Then use your wire cutters to snip the wire in two places so that it makes two halves. You don’t need to cut the greens; they will separate naturally.
If your wire cutters can’t cut through the thick frame of the wreath form (mine didn’t), you can use them to “score” the spots you want to cut. I found that the wreath bent easily on the scored lines and eventually snapped apart cleanly.
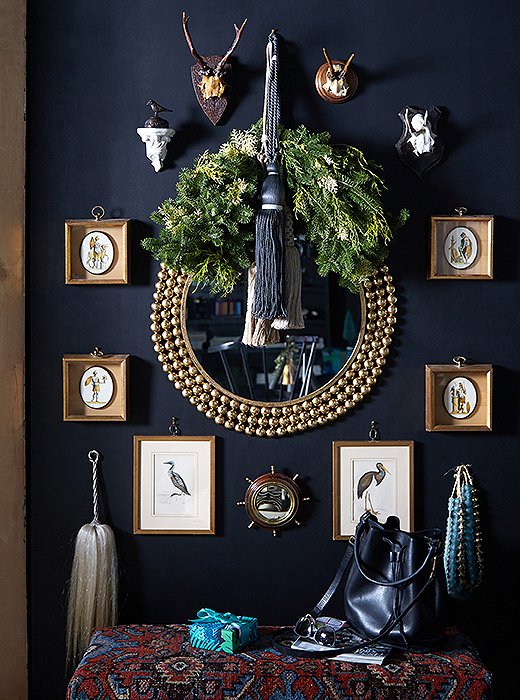
To finish I simply looped three tassels around the center of the cut wreath and hung it above a mirror within an existing gallery wall. Because this spot had a natural feel I opted for jute and linen tassels. I love how well the greenery frames the circular mirror!
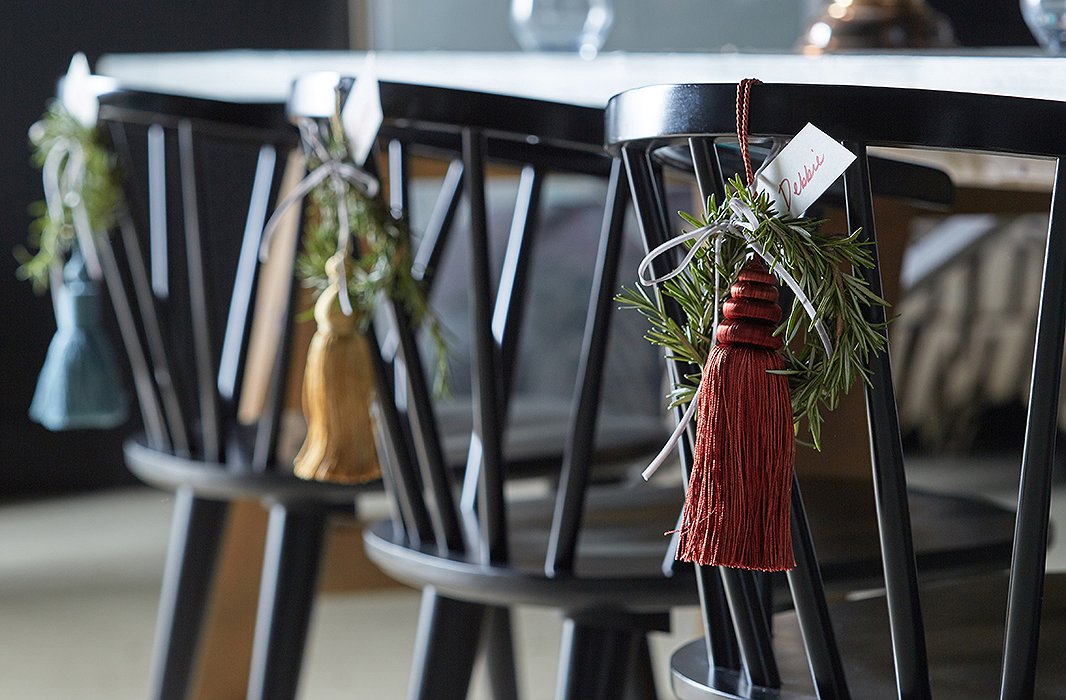
Tassel and Rosemary Place-Card Holders
If you’re looking to make a statement at your next holiday dinner party, these little key-tassel place-card holders are sure to charm your guests! I chose a mix of three colors and styles for variety.
Here’s what you’ll need:
A few sprigs of fresh rosemary
Key tassels (I used Harbour, Aurelia, and Calisto from Samuel & Sons)
Place cards or gift tags with holes
Thin ribbon
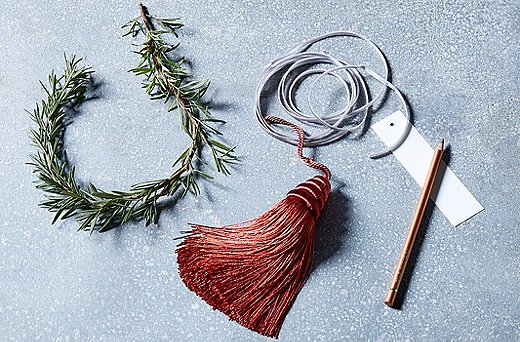
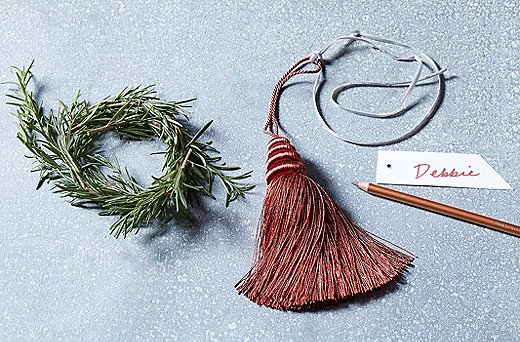
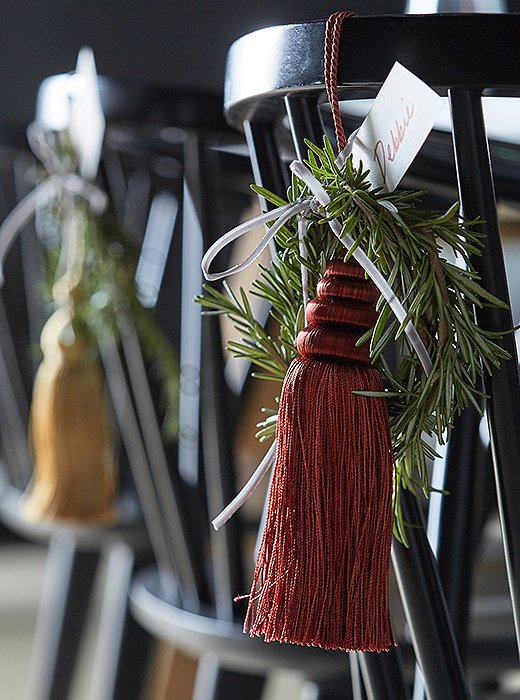
To create the small rosemary wreaths I bent a sprig and then tucked the ends in together. I found that the rosemary stayed together, but if you like you can secure the wreath ends with a thin piece of wire. I used a piece of thin ribbon to attach the tassels, wreath, and name tag to the back of my chairs.




Join the Discussion